3D printing low-run injection molds
This article discusses the use of 3D printing to print molds for low run injection molding. Design considerations, materials, molds configurations and a comparative case study are all included

Introduction
Injection molding is the most common method for mass producing plastic parts. It is ideal for producing rapidly very large numbers of identical parts with tight tolerances.
In the past, 3D printing was used in the design and manufacturing process to only create and verify prototypes that would be later injection molded. Nowadays, technology developments in printer accuracy, surface finish and materials allow 3D printers to also directly manufacture the molds.
This article discusses the benefits of using 3D printing for manufacturing low-run injection molds and gives advice on the possible mold configurations, the available 3D printing mold materials and the best design practices for creating 3D printed injection molds.
📍 Please note: Protolabs Network does not manufacture 3D printed molds, but does manufacture custom injection molded parts
What is injection molding?
Injection molding is the process of creating a components by injecting under pressure melted material into a die. The material fills the hollow cavities of the mold and when it cools it solidifies, taking the form of the die. The die then opens, the solid part is ejected and the process repeats. Automating the this process can yield very high production rates. The materials commonly used in injection molding are thermoplastic polymers, but it is possible to mold certain thermosetting plastics.
The high initial setup costs associated with injection molding make this technology cost-effective only at high volumes. These costs can range between $10,000 and $100,000 and are associated mainly with the very high requirements in designing, engineering and manufacturing the injection molding dies. Because of this injection molding is typically only used to produce very high volumes of identical parts at a low cost. A typical run can involve the production of thousands or sometimes millions of components.
The term low-run injection molding typically applies to runs of 10 - 100 parts. Traditionally, such small runs were not financially feasible due to the very high costs associated with manufacturing the tooling (the injection molding dies).

Why use 3D printing?
It is important to consider whether a mold is going to be used to make 20 or 20,000 parts. Historically molds needed to be CNC machined to a very high tolerance from metal (most commonly aluminium or steel). These materials provide good wear resistance to the repeated injection, opening and closing of the mold and the temperature gradients that they were exposed during the injection molding process. However, metal molds do require a initial large investments at the setup stage.
For low-run molding, wear resistance is no longer the most critical factor. Certain 3D printing technologies, such as Material Jetting and SLA, are able to produce parts to a high accuracy with excellent surface finish. When this is coupled with the modern temperature resistant 3D printing materials and the design freedom 3D printing enables, it means that 3D printed molds are now a viable option for manufacturing low-run injection molding dies. 3D printed molds also allow the quick verification of the mold design, mitigating the financial risk of investing in an expensive metal mold.
3D printed molds are best suited for:
3D printed mold configurations
3D printed injection molds are produced in 2 standard configurations:
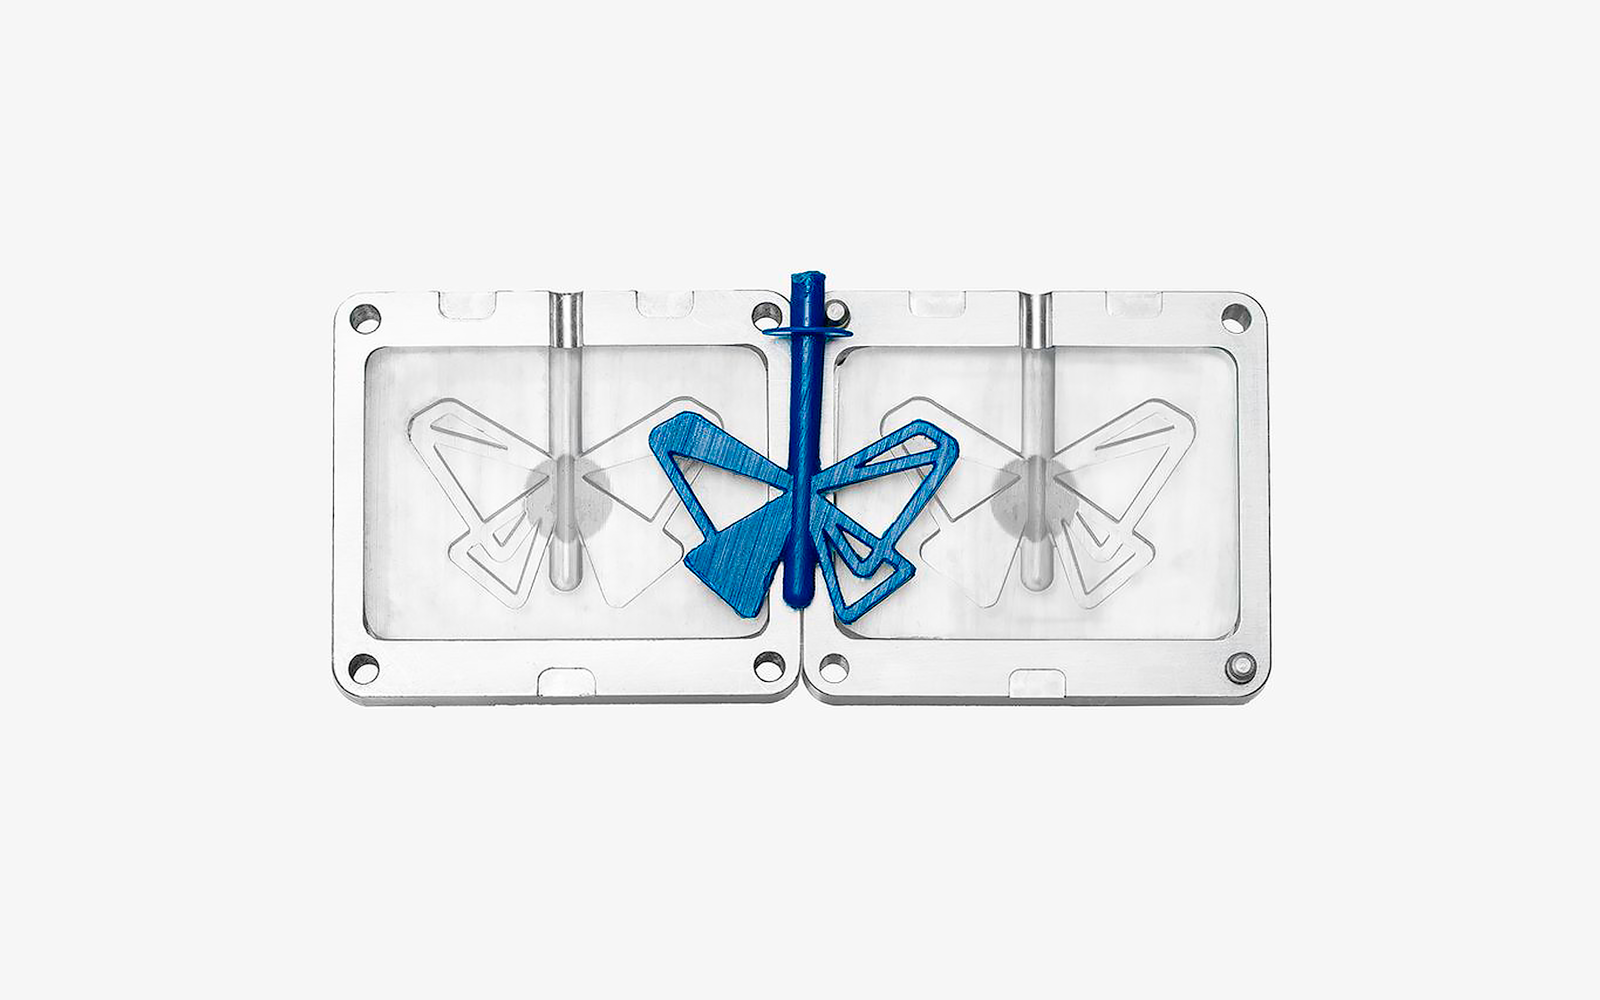
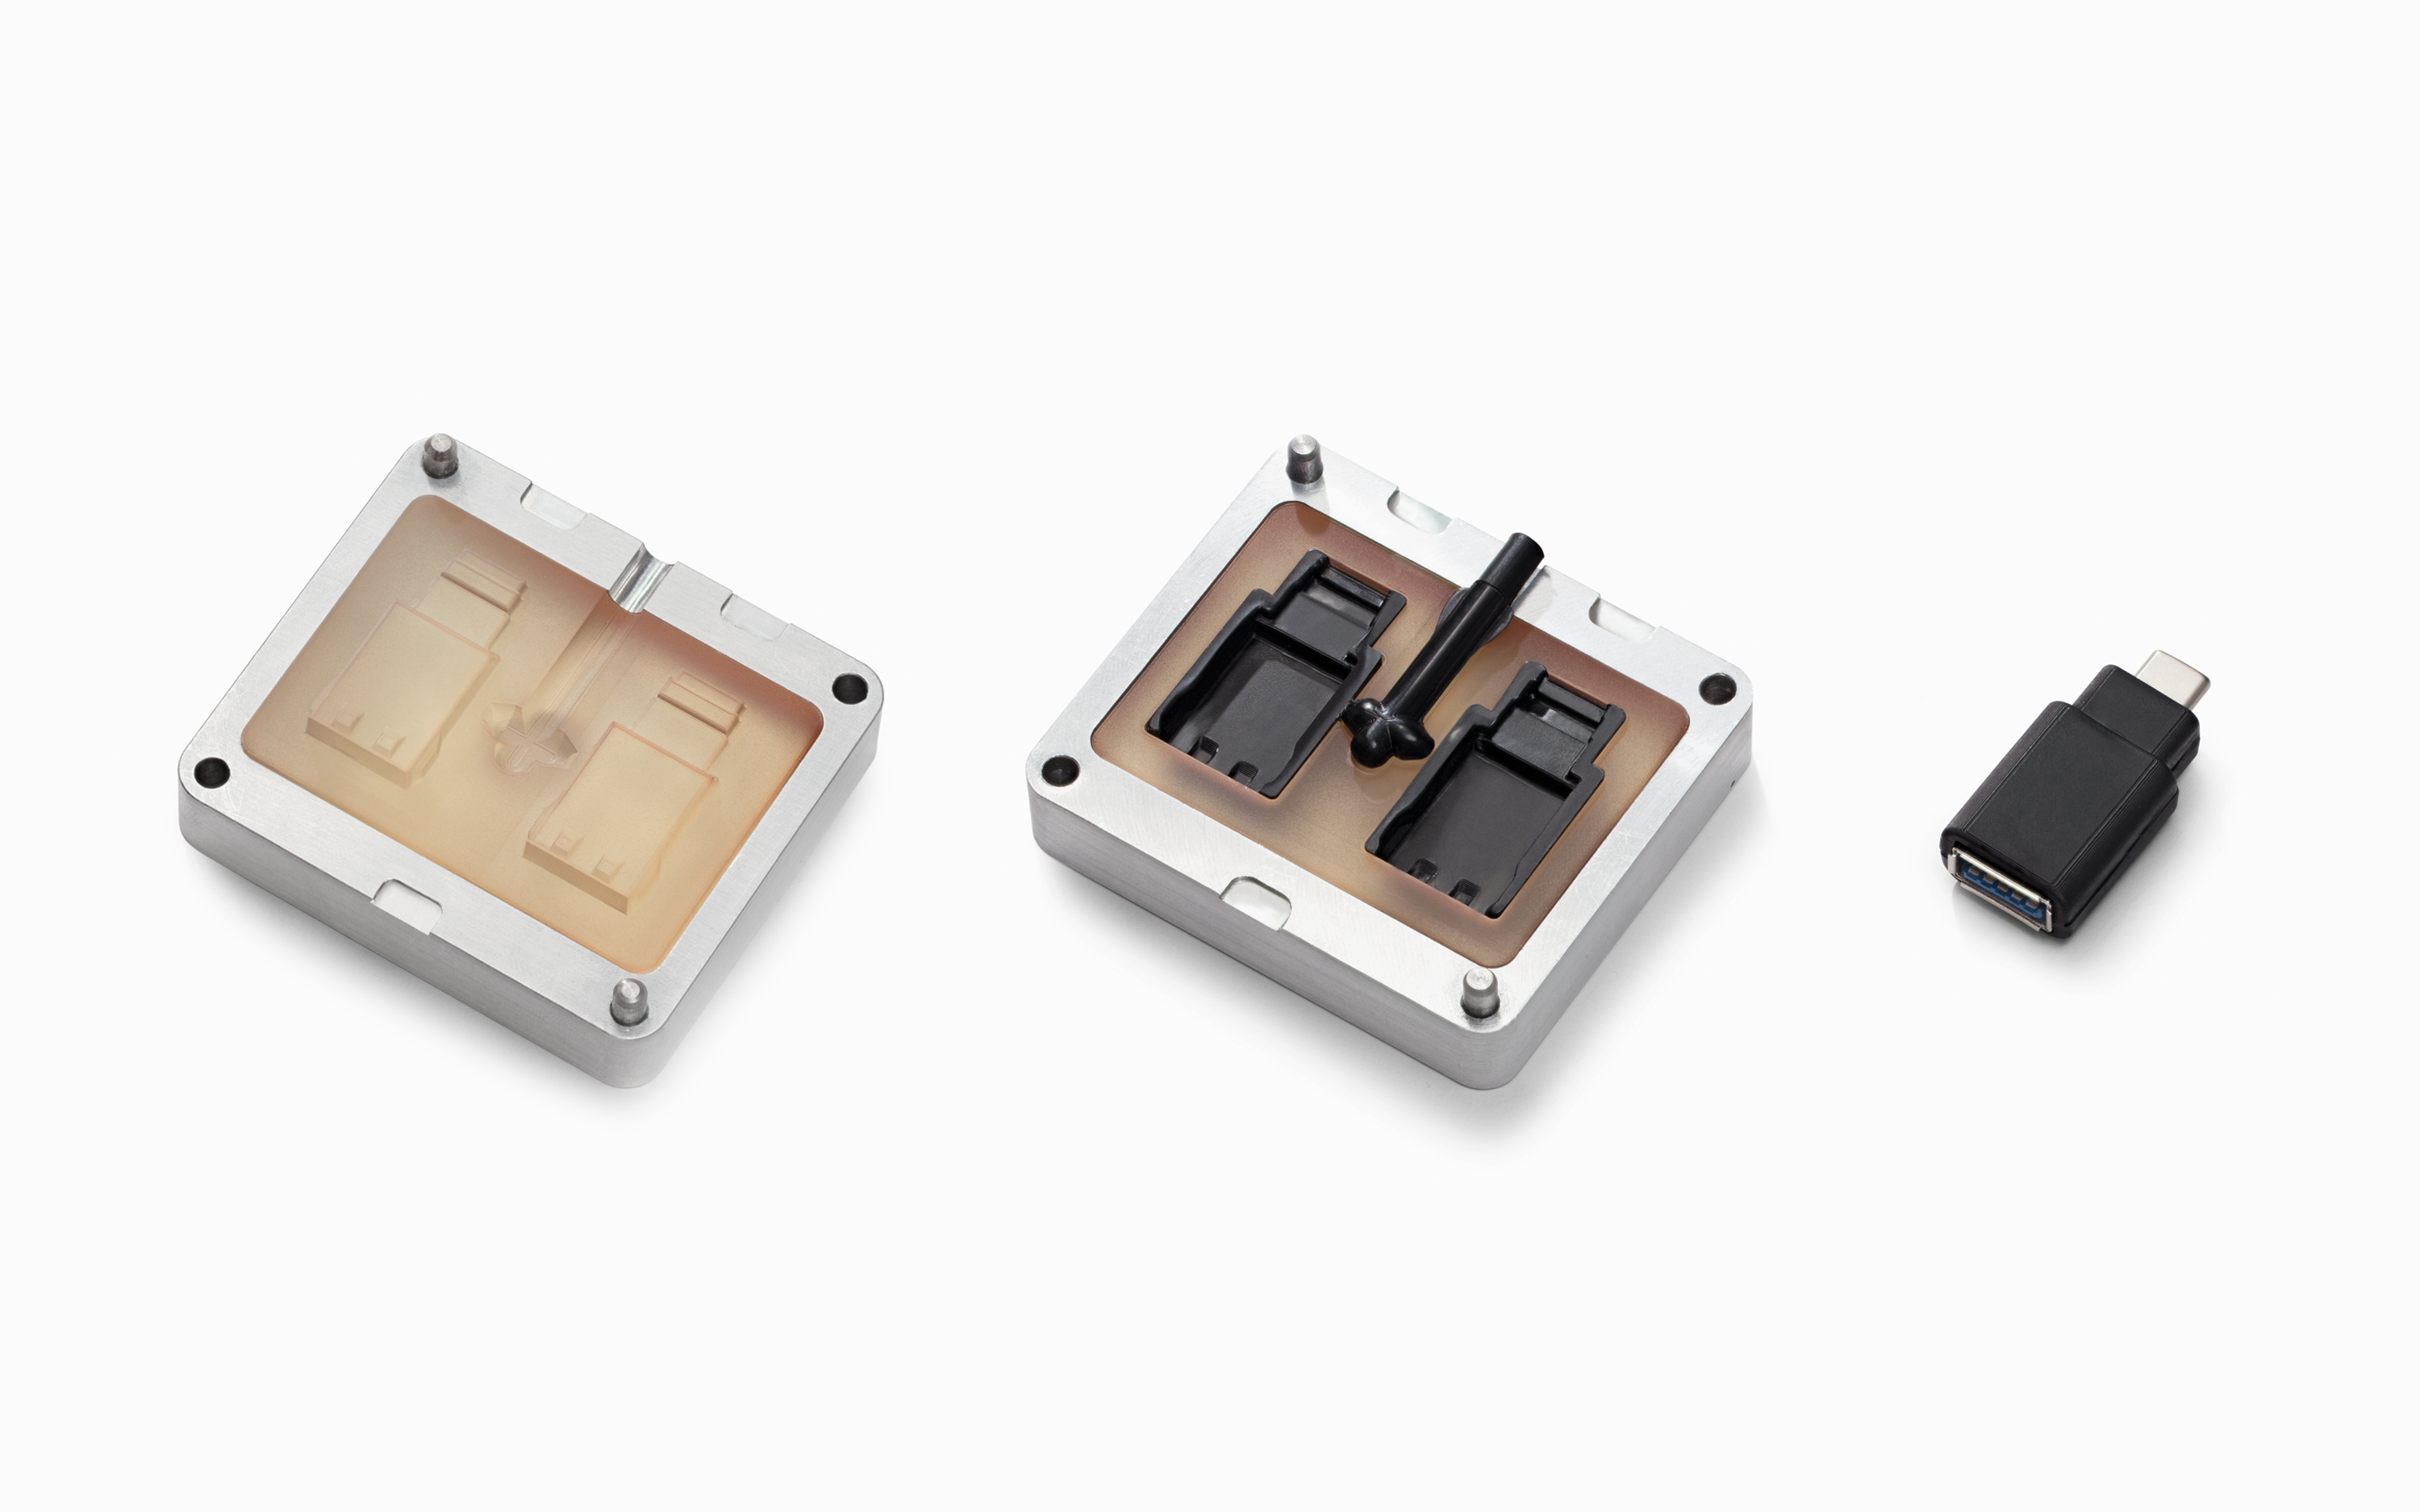
Mold inserts in aluminium frames: This is the most common 3D printed mold configuration and generally produces more accurate parts. The mold is 3D printed and then inserted into rigid aluminium frames which provide support against the pressure and heat of the injection molding nozzle. Aluminium frames also help preventing the mold from warping after repeated usage.
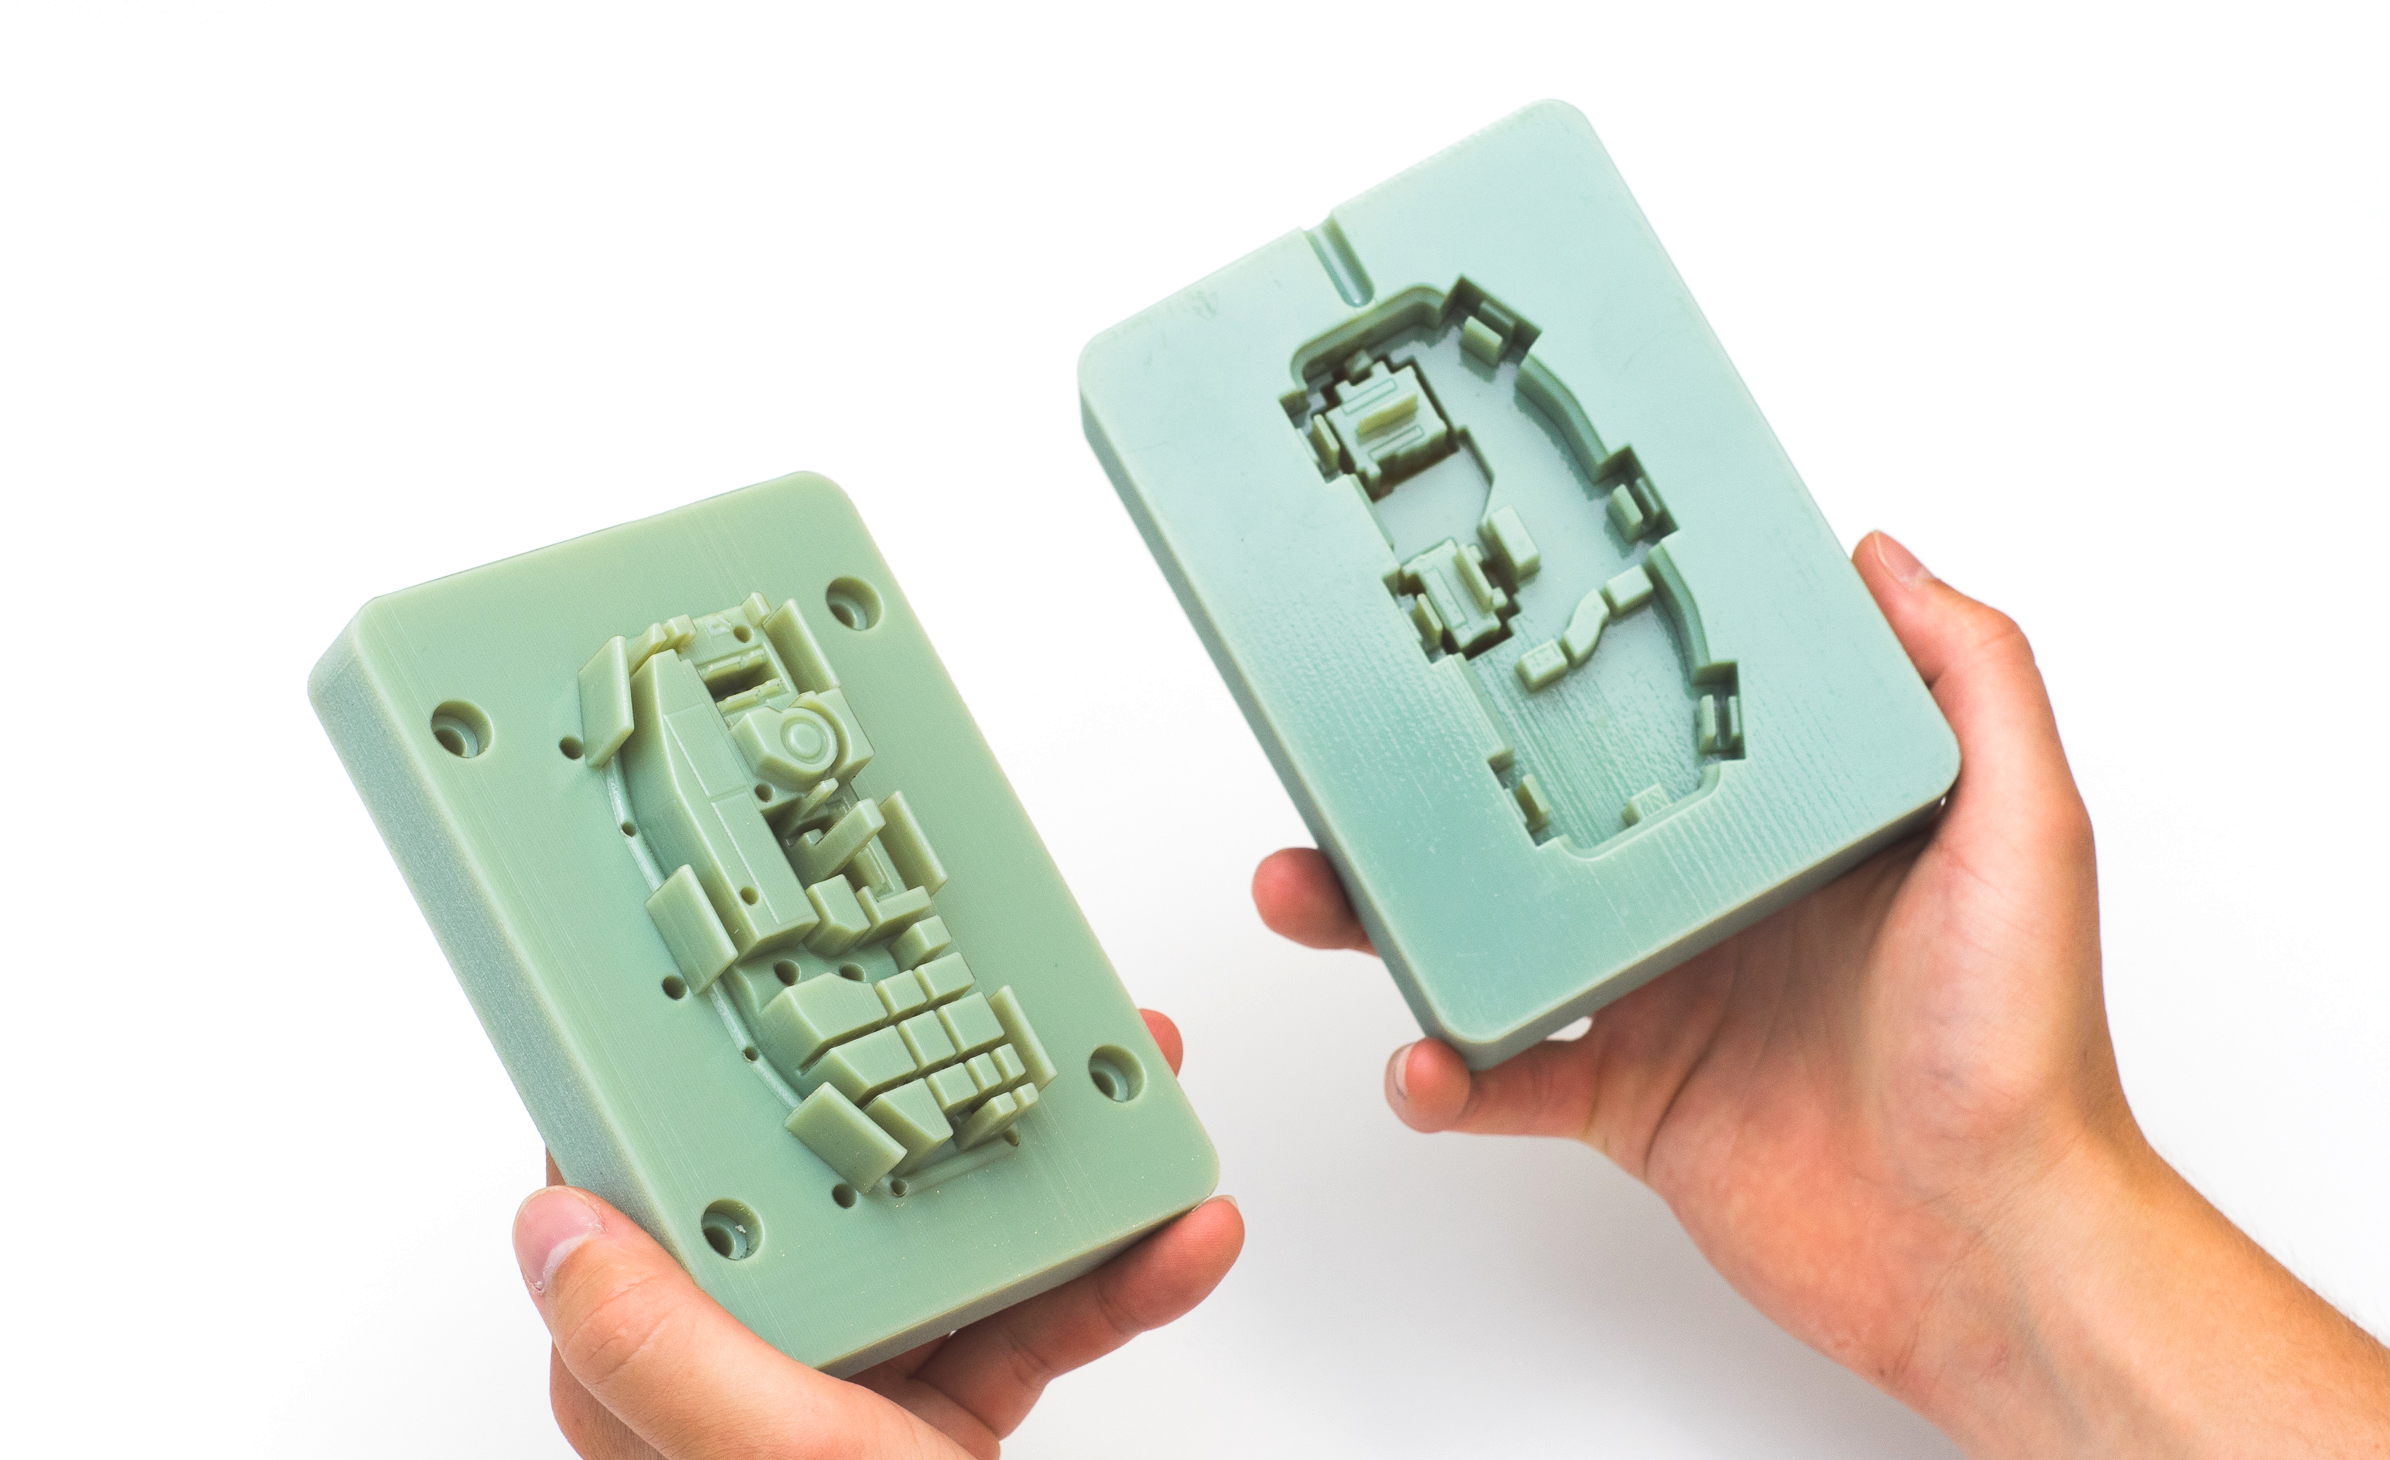
Stand alone molds: In this mold configuration the mold is fully 3D printed and a rigid aluminium support frame is not used. This way intricate cooling channels can be integrated in the mold, but molds manufactured using this approach require more 3D printing material (increasing the print cost and time) and are more prone to warping after extensive use.
How to design a 3D printed injection mold
Materials
A 3D printing material is suitable for creating injection mold if it has:
- High temperature resistance - A high heat deflection temperature is required to withstand the mechanical and thermal loads applied to the mold during material injection. Note though that the temperature decreases rapidly during solidification.
- High stiffness/toughness - Repetitively removing parts can cause wear to the mold, so materials with high stiffness are required to maintain mold accuracy over time.
- High level of detail - One of the main requirements of an injection mold is high dimensional accuracy and a smooth surface. Highly accurate molds will produce highly accurate parts.
The 3D printing technologies that cover best these requirements are SLA and Material Jetting. These technologies can produce parts with high dimensional accuracy and are ideal for prints intricate details and very fine features. Speciality materials that are available in these technologies, like Formlabs High Temperature resin or Stratasys Digital ABS, are ideal for molding and tooling applications. An outline of the properties that are most relevant to injection molding for these two materials is shown below.
For industrial applications, desktop SLA is not suitable. An in-depth article comparing the two most commonly used industrial 3D printing materials for mold manufacturing (Digtal ABS and Somos PerFORM) can be found here.
| Property | Formlabs High Temp resin* | Stratasys Digital ABS** |
|---|---|---|
| Heat deflection temperature | 289 ℃ @ 0.45 MPa | 92 - 95 ℃ @ 0.45 MPa |
| Flexural modulus | 3.3 GPa | 1.7 - 2.2 GPa |
| Impact strength (Notched IZOD) | 14 J/m | 65 - 80 J/m |
| Lowest layer height (resolution) | 25 - 50 microns | 16 - 30 microns |
| Minimum detail size | 0.2 mm | 0.2 mm |
Mold Design
Describing specific technical design of mold features (such as gates, runners, air vents etc) is out of the scope of this article. An internet search will reveal a large amount of information on the subject. This post by Seattle Robotics is a good starting point for those new to injection mold design.
Here is a list of some good practices that should be followed when designing a 3D printed mold:
- When designing the mold for SLA printing, ensure that the inner faces of the mold are orientated so that no support is in contact with them. This will improve their surface quallity, as no support marks will present on these surfaces, minimizing the required post processing.
- Including shallow air vents (0.05 mm deep) from the edge of the cavity to the edge of the mold will help expel trapped air during the molding process.
- If the 3D printed mold is to be used for more than 20 runs, consider including channels in the design for embedding metal rods or tubes. These can help reinforce the mold, reduce warpage and improve cooling times.
- 3D printing the mold at a lower layer height can help produce smoother molded parts as the molds will have less visible print lines.
- Embossed and engraved details should be offset from the surface by at least 1 mm.
Specific restrictions on design will depend upon the injection molding machine that is used. However Stratasys suggest that molds made via their Material Jetting printers should be used to produce parts with maximum volume of 165 cm3 in 50 to 80 ton molding machines or manual hand presses.
Designing parts for injection molding
As with conventional injection molds, a designer should consider:
- Adding a draft angle of minimum 2o degrees to aid in the removal of the part from the mold.
- Maintaining a uniform wall thickness across the entire part.
- Keeping all walls and features as thin as possible.
- Including radii on all edges and corners.
- Including thin ribs and gussets to add strength to a part rather than increasing wall thickness.

Learn more about the importance of draft angles in this article →
Reducing Flash
Flash is the name given to the material that comes out between the two halves of the mold during the injection process. This generally occurs when the two mold halves do not mate perfectly together, are not perfectly flush and flat or the mold is overfilled. Runners are used in the mold design to help reduce the likelihood of flash.
If designing for an aluminium frame, add 0.125mm of extra thickness to the back of the mold plates to account for the compression forces and to ensure a complete seal. Increasing the clamping force in the vise can also help mitigate flash, as can polishing the molds’ split plane to give it as flat a surface as possible.
Release compound
Due to the relatively fragile nature of the materials used in 3D printed injection molds compared to traditional molds, applying excessive force to remove a part from the mold can lead to rapid mold deterioration. Including a release compound on the surfaces of the mold cavity before the injection stage can assist greatly with part removal.
Case study: a plastic motor fitting
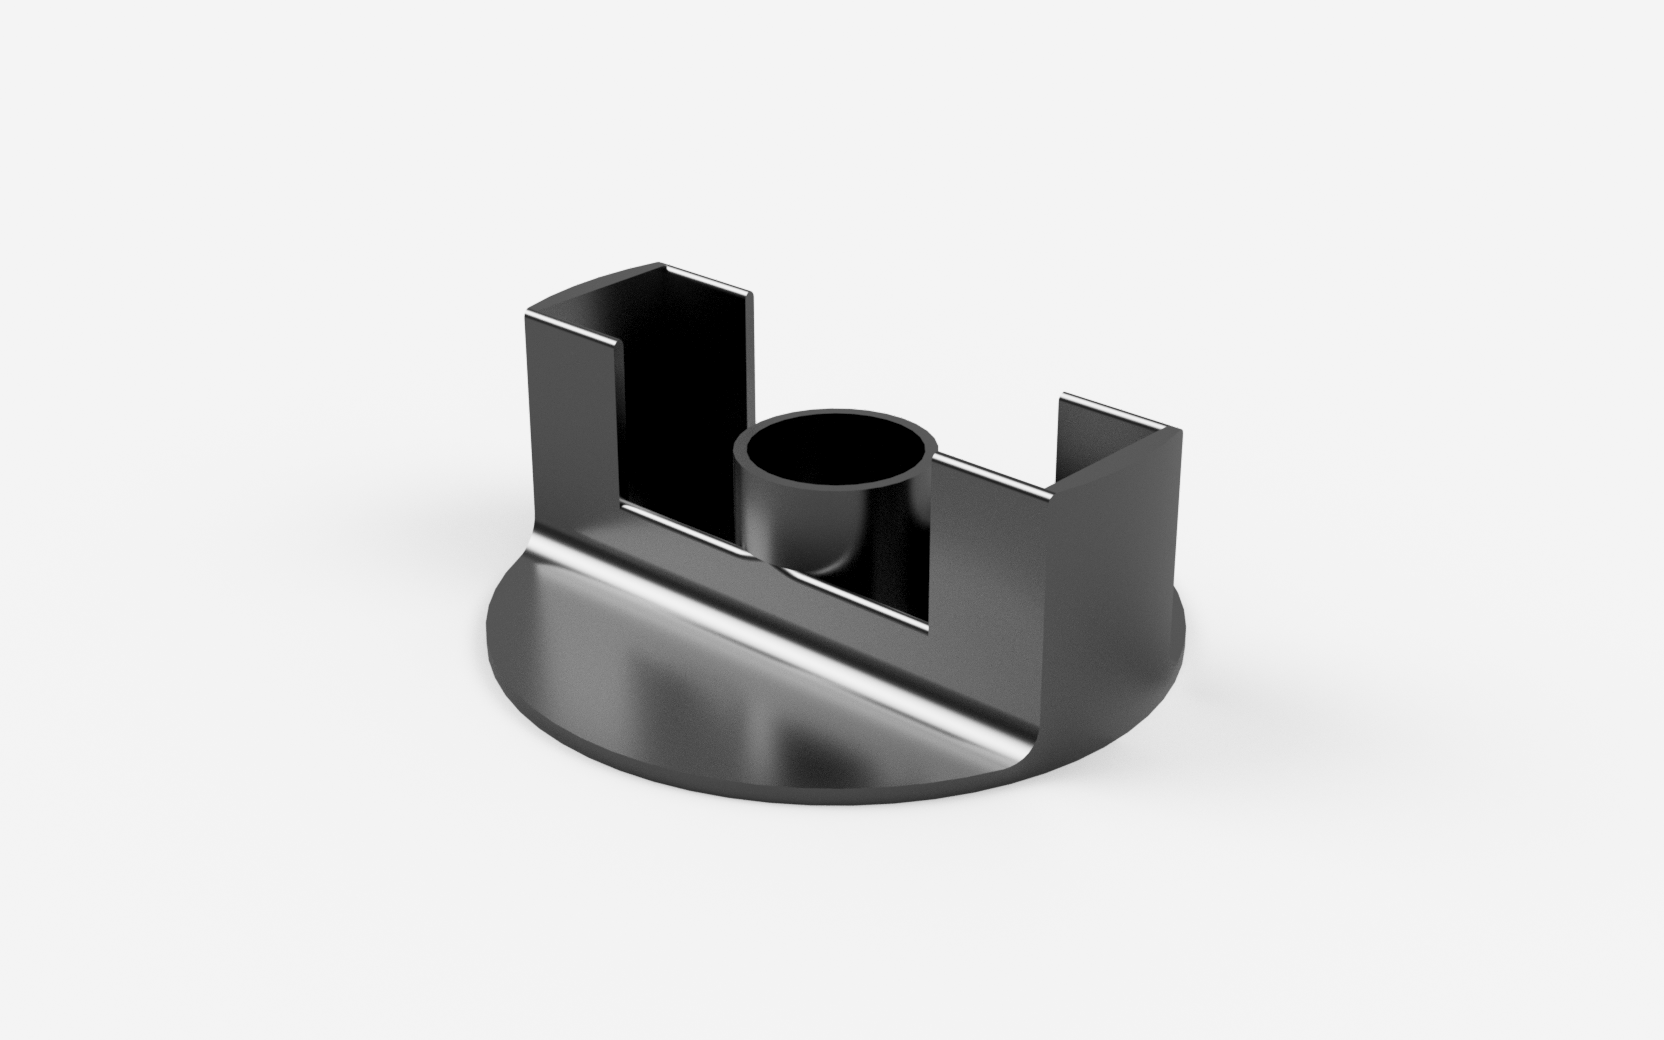
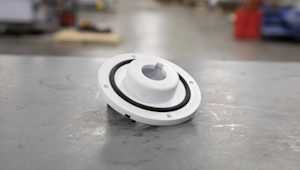
This case study will compare manufacturing a custom plastic fitting for a motor housing. The requirements of the design are:
- The total number parts is 25.
- A high level of dimensional accuracy in needed to ensure a tight fit.
- The weight of the part is 0.005 kg (5 grams).
- The part must be made from ABS.
- The part must be black in colour.
- The overall diameter of the part is 40 mm.
Here are the available alternative manufacturing options:
Industrial FDM ABS 3D printing: Industrial FDM 3D printing has high repeatability and can produces parts with high dimensional accuracy and is able to print parts in small to medium batches. The cost of the ABS filament used in industrial FDM systems is typically around $90 - $110 per kg. The main restriction for any part produced via FDM 3D printing is its anisotropic mechanical performance: parts are significantly weaker in one direction. This means that a designer must have a good grasp on the loads the part will be subjected to and the orientation of the model in the print platform.
Injection molding ABS parts with SLA 3D printed molds: High Temperature SLA resins are able to produce functional injection molds with a high level of accuracy that are best suited for low level production runs. SLA resins retail at around $150 - $170 per litre. A benchtop injection molding machine has been used for the calculations in this example with the 3D printed molds inserted into aluminium support frames. ABS pellets are used for molding the part that cost approximately $2 - $3
Traditional injection molded ABS part: Traditional injection molded parts have a very high level of accuracy, excellent surface finish and a very high level of repeatability. The main downsides of traditional injection molding is the high initial setup cost and the number of design restrictions enforced in the designing of the molded part (draft angles, constant wall thickness etc). The cost of the ABS pellets is the same as above.
A summary of the cost (based on online quotes) of manufacturing the ABS fitting using the technologies discussed above is summarised in the table below. All prices do not include shipping.
| Industrial FDM* | 3DP IM** | Traditional IM*** | |
|---|---|---|---|
| Cost of mold | N/A | $70.85 | $1660.72 |
| Cost per part | $3.69 | $0.05 | $1.89 |
| Total cost | $92.25 | $72.10 | $1711.48 |
| Lead time | 4 days | 2 days | 8 days |
Next steps: How to produce parts with injection molding
Is low-run injection molding with 3D printed molds the best solution for your application? Then there are two ways for you to move forwards with you project:
If you have access to an injection molding machine and the know-how to design the mold, then 3D printing the mold in a heat resistant material is an option. An article discussing the advatages and disadvatages of the two most commonly used 3D printing materials for manufacturing low-run injection molds can be found here.
Otherwise, you can outsource the production to a professional injection molding manufacturer. Protolabs Network offers access to a global network of Injection Molding service providers, who are able design a mold for your part and produce volumes from 100 to 10,000+ units.
Need advice on your injection molding project?
Rules of Thumb
- 3D printing the injection molds is the most cost effective way for low-run injection molding.
- Material Jetting and SLA are the most suited technologies for 3D printing injection molds.
- Use wide draft angles (2o degrees or more) and a release compound to increase the lifetime of the molds.
- Keep the part volume lower than 165 cm3
- Each 3D printed mold can be used for approximately 30 - 100 runs (depending on the material being injection molded).
