Designing draft angles for injection molding can be a hassle. As designers and engineers, we like to work with straight, perpendicular models that are easy and intuitive to read, measure and modify.
However, when it comes time to actually manufacture components via injection molding, your designs will have to fit the process itself. That means designing in draft angles to be able to eject the parts from the mold. If you don’t design your parts with the right amount of drafting, you’ll be compromising your part’s functionality, fit and cosmetic quality.
What is a draft angle?
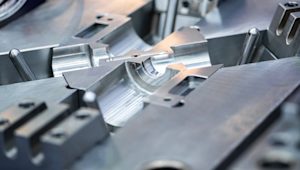
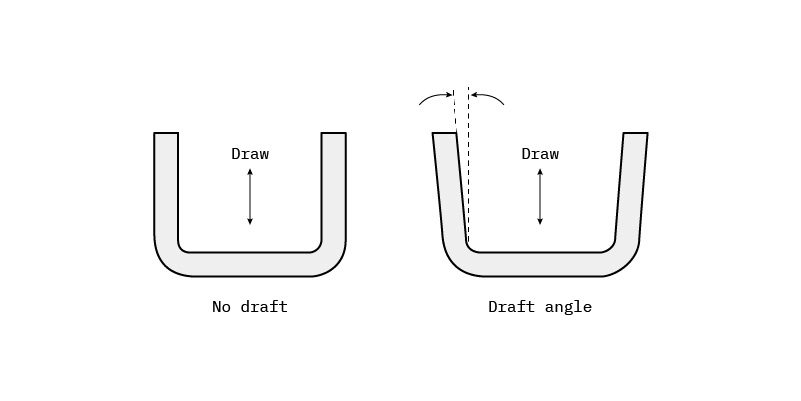
A draft angle is a taper applied to the vertical walls of the injection-molded component to assist with releasing the part from the mold.
Draft angles are a required feature of injection-molded custom parts. A functional part for injection molding has to have draft angles that face both the cavity and core sides. This will reduce the risk of damage to the parts and ensure that they can be ejected from the machine.
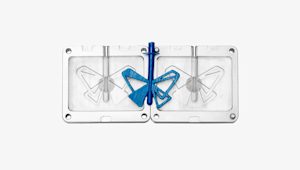
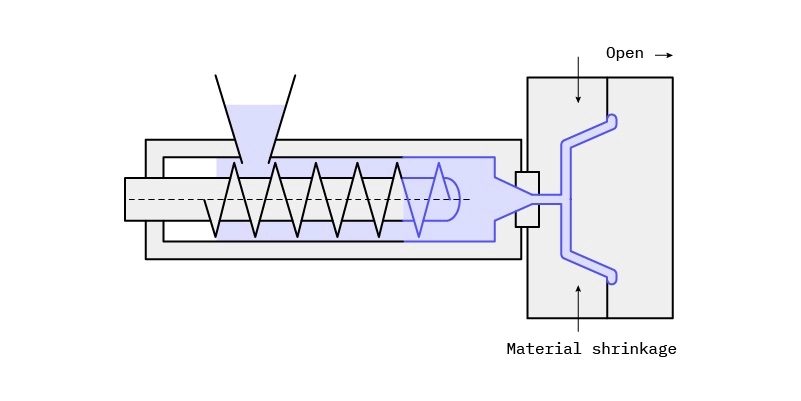
As the molten plastic flows into the closed die and fills the cavity, the material shrinks inside the mold upon cooling and as a result grips the core.
Why are draft angles essential for injection molding?
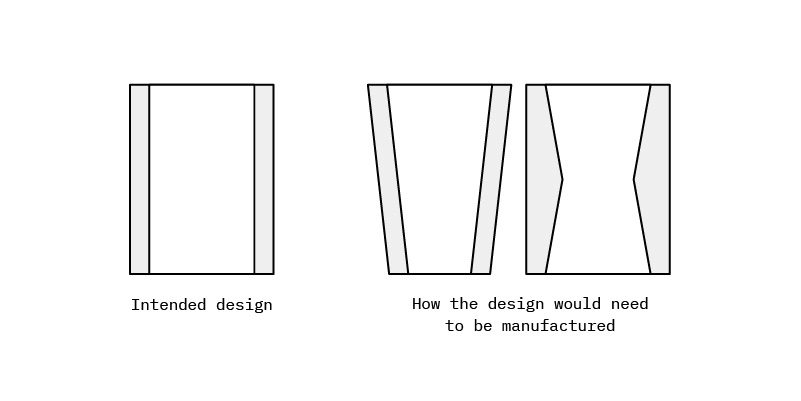
Without any taper, not only will the part come out scratched, but also the mold will endure unwanted wear and tear. This will in turn shorten the life of the tool. On top of all of this, you may not be able to eject the part in this case, meaning you’ll have to grind production to a halt to manually peel the part out of the mold.
What’s also important is to overcome the vacuum forces by letting air in between the metal and the plastic for the part to release properly. Adding an adequate draft angle ensures that warpage upon ejection is prevented while maintaining a decent cosmetic finish.
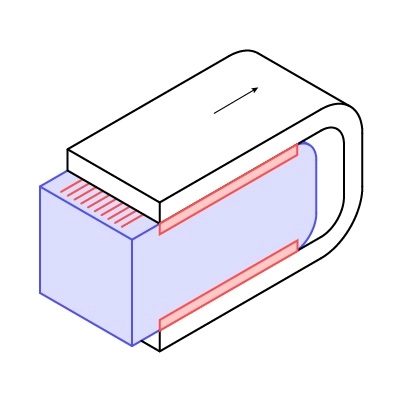
With injection molding, you also have to deal with the inherent tradeoff between the ejection mechanism and the cooling system - they both compete for real estate within the core. If your part is easy to release by design, you make it easier to eject the part, giving more real estate to the cooling system.
Therefore, instead of having numerous pins or sleeves to push the part out of the core - you leave a lot of room for cooling channels that significantly cut down your cycle time. As a result, you get a more competitive per unit price for your project, which is enormously beneficial once you reach high production volumes.
On average, 70% of the cycle time during injection molding goes to cooling.
So, why is it essential to add draft angles to your design?
-
Minimizes the warping to your geometry
-
Increases the tool life of the mold
-
Improves the surface finish on your plastic parts
-
Cuts down costs by reducing the cooling time
How do you design better draft angles?
There’s no universal formula that can tell you exactly how to implement draft angles implement in your design, but there are some factors for you to consider:
Deep pockets and cavities
Deep pockets and cavities need a steeper draft angle to assist in overcoming the vacuum and the friction forces as the part is pushed out from the core.
Part texture
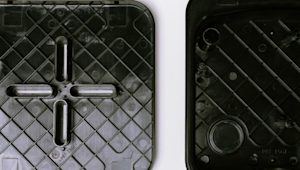
The texture of the part dictates the minimum draft. A smoother surface, such as a mirror finish, is easy to push out and to cut down on scrap rates. For light textures, a 1-5 degree draft is appropriate. Complex textures like leather or snakeskin introduce micro-undercuts and demand a 5-12+ degree draft.
What are the best injection molding materials for draft angles?
The more the plastic thermally shrinks, the larger the draft must be. In addition - strong, brittle and abrasive materials naturally require a larger taper than those that are soft, ductile or self-lubricating.
Nylon, for instance, is very forgiving and does not necessarily need a draft angle, although a standard 2-degree taper is always recommended.
| Material | Minimum draft angle* | Recommended draft angle |
|---|---|---|
| Nylon | 0 | 1 |
| Polyethylene | 0.5 | 1.5 |
| PVC | 0.5 | 1.5 |
| PP | 1 | 2 |
| PC | 1.5 | 2 |
*Assuming perfect conditions
What are Protolabs Network's top tips and tricks for designing draft angles?
Draft angles may not be your favorite feature to design, but it’s worth the hassle. Designing them correctly is key to obtaining a competitive cost and potentially shortening the lead time.
Here are a few advanced tips for designing the best draft angles for your custom parts:
-
Integrate the draft into your design early. If you want to prototype the part with 3D printing, make sure it already contains the draft to avoid having to repeat your design work.
-
Draft both the cavity and the core sides of your part. The core (inside surfaces) requires a slightly larger draft due to the shrinkage direction of the material.
-
All vertical faces need to have a draft. These include ribs and gussets, bosses and stand-off features.
-
The larger the draft angle, the better. Even a 0.5-degree angle (the absolute minimum for most materials) is better than no draft angle at all.
-
Be mindful of the reference face you draft from and whether the draft impacts the functionality or fit of mating parts.
-
The location of the parting line is not always obvious. Be sure to consult your supplier early on in the process to deliver the end design on time.
-
Draft the features that would require a side-action (side cavities and bosses).
For a more detailed guide on how to design features for injection molding, we have just the guide for you.
Want to learn more about designing custom parts for injection molding?
Frequently asked questions
How do you calculate draft angles for injection molding?
In general, the recommendation is to add a minimum of 1 degree of draft per inch (2.54 cm) of mold cavity depth. Other factors will affect how you calculate your draft angles aside from depth, so you can add up to two degrees per inch, but it’s not necessary.
How many degrees should my draft angles be?
While applying 1 to 2 degrees of draft per inch of cavity depth is a good standard to follow, certain angles are better for specific situations. For instance, we advise applying 0.5 degrees on every vertical face of your components. For light textures (PM-T1), 3 degrees of draft is required, while 5 or more degrees of draft is mandatory for heavy textures (PM-T2).
When should you add draft angles in the design process?
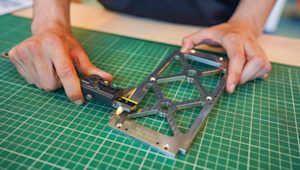
Adding draft angles to 3D printing and CNC machining designs isn’t required, so it’s common to forget drafts when prototyping (or at other earlier design stages). With 3D printing and CNC machining, you simply don’t have to worry about ejecting parts from a mold. We recommend designing your parts with draft angles early on so that when it comes time to start injection molding larger quantities of parts, you won't have to redesign the components to accommodate the molding process.
How does draft angle design affect surface finish?
Adding the right draft angles is essential for avoiding scratches on your parts. Thermoplastics shrink when cooling in a mold, which creates enough tension to prevent clean and easy part ejection. Without the right draft angles, your part will get scratches from tension within the mold and from taking it out after cooling.
How do you design draft angles for optimal manufacturability?
Following our guidelines will definitely help improve your design for manufacturability. If you have further questions or want expert DfM advice, don’t hesitate to contact us at networksales@protolabs.com.
