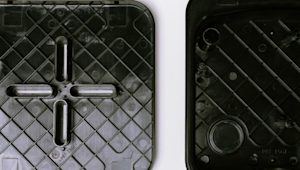
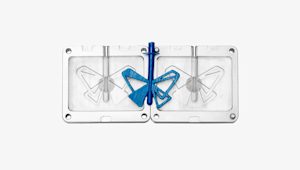
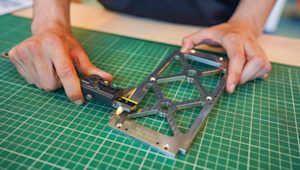
Injection molding is the go-to process for creating high quantities of plastic parts. As injection molding offers high repeatability, design flexibility and low unit cost, it’s no surprise that most plastic parts you find around you were ejected from molds instead of from CNC mills or 3D printers.
While injection molding comes with its share of advantages, there are a few drawbacks to consider. For one thing, creating the initial mold is quite expensive, and turnaround times can be slower than 3D printing and CNC machining. Given that you likely don’t want to rush the production of thousands if not millions of parts, these factors aren’t dealbreakers.
The arguably more important factor to keep in mind is that the injection molding process involves keeping a watchful eye on common defects. It’s vital to catch and fix production defects as early as the design phase.
This article explores six handy design tips for avoiding common defects and getting the most out of your injection molding production runs.
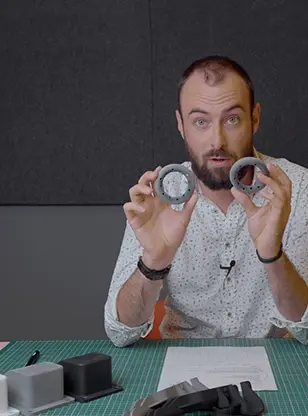
Watch before you read
You can also head to our Youtube page for the same pro tips for designing better injection molded parts.
Draft angles make it easier to remove parts from the mold
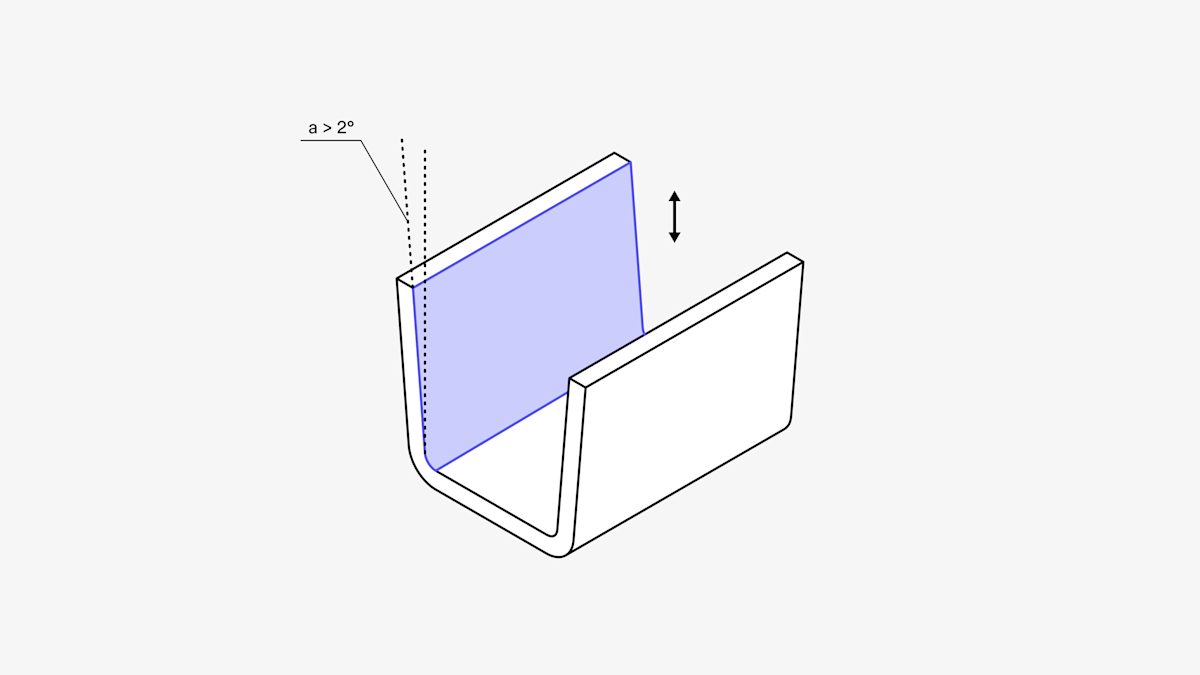
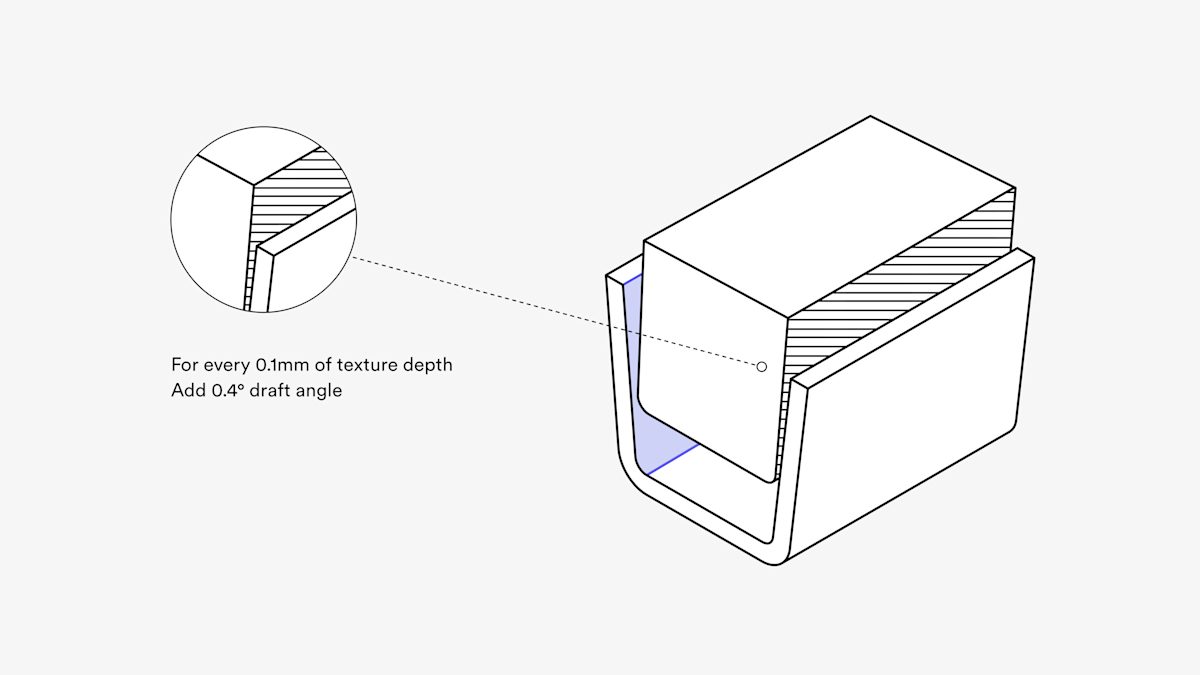
When you eject completed parts from a mold, you run the risk of leaving drag marks on the surface of the parts. Adding draft angles to the design of your part makes it far easier to remove, significantly reducing the chances of getting a part covered in unwanted markings.
For the optimal result, we recommend adding a minimum draft angle of 2 degrees to all surfaces of your part. If your part has textured surfaces, an additional 0.4-degree angle for every 0.1 mm of texture depth is your best course of action.
Avoiding undercuts will also make part removal easier
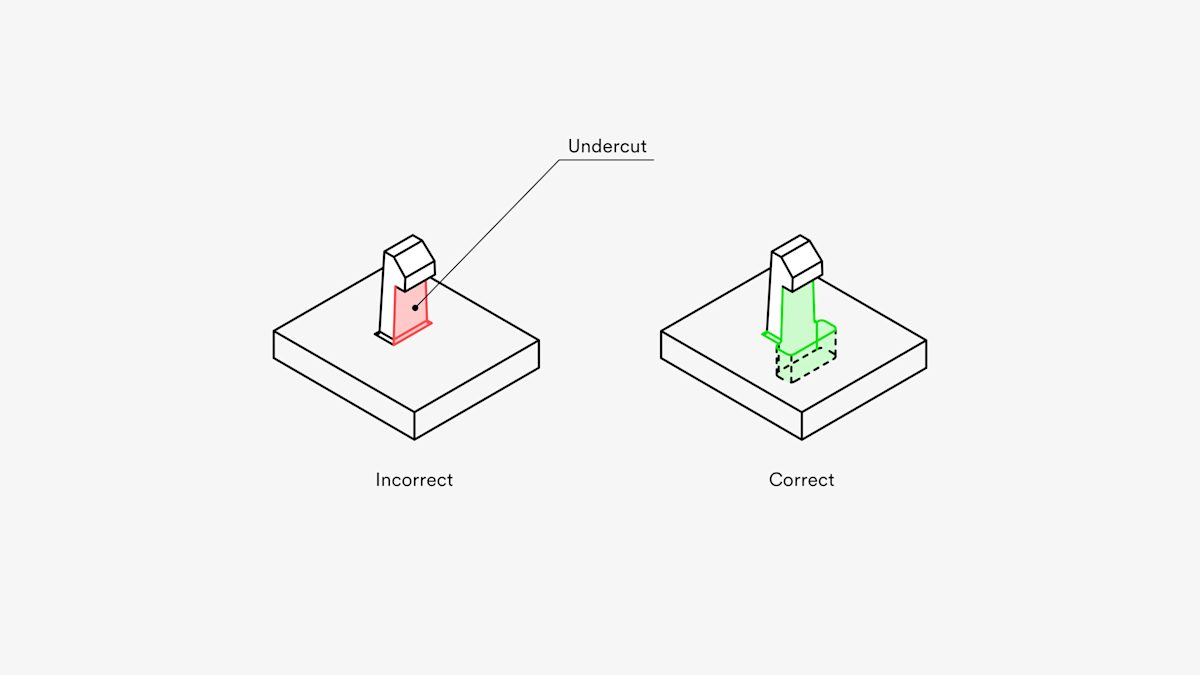
When you’re designing parts that will eventually be injection molded, it’s important to remember that part of the manufacturing process involves removing parts from a mold. Designing your parts with an undercut (or several) will make it nearly impossible to eject after the process is complete.
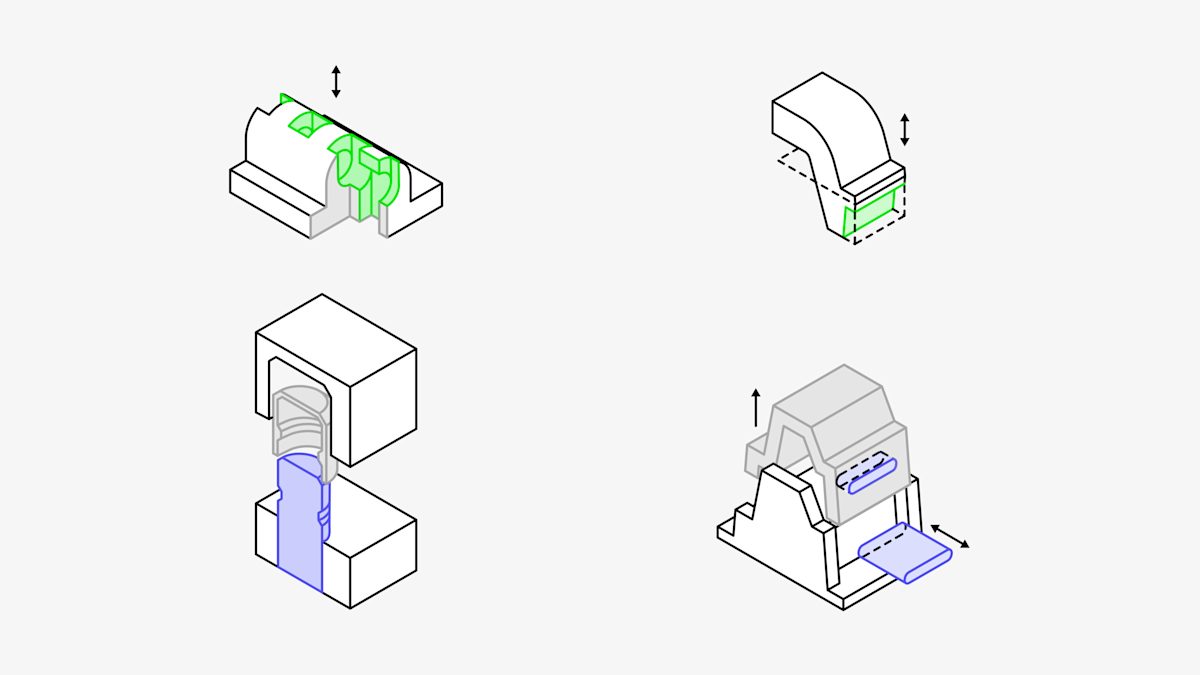
Avoiding undercuts altogether will make it much easier to remove your parts. Not only that but there are several ways to make removing parts even more efficient. Here are the four we recommend:
-
Use shutoffs
-
Move the parting line
-
Use bumpoffs
-
Add sliding side-actions and cores
Remember to attach bosses, ribs or side walls
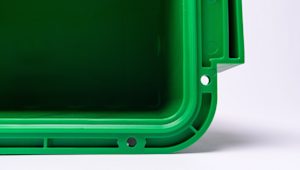
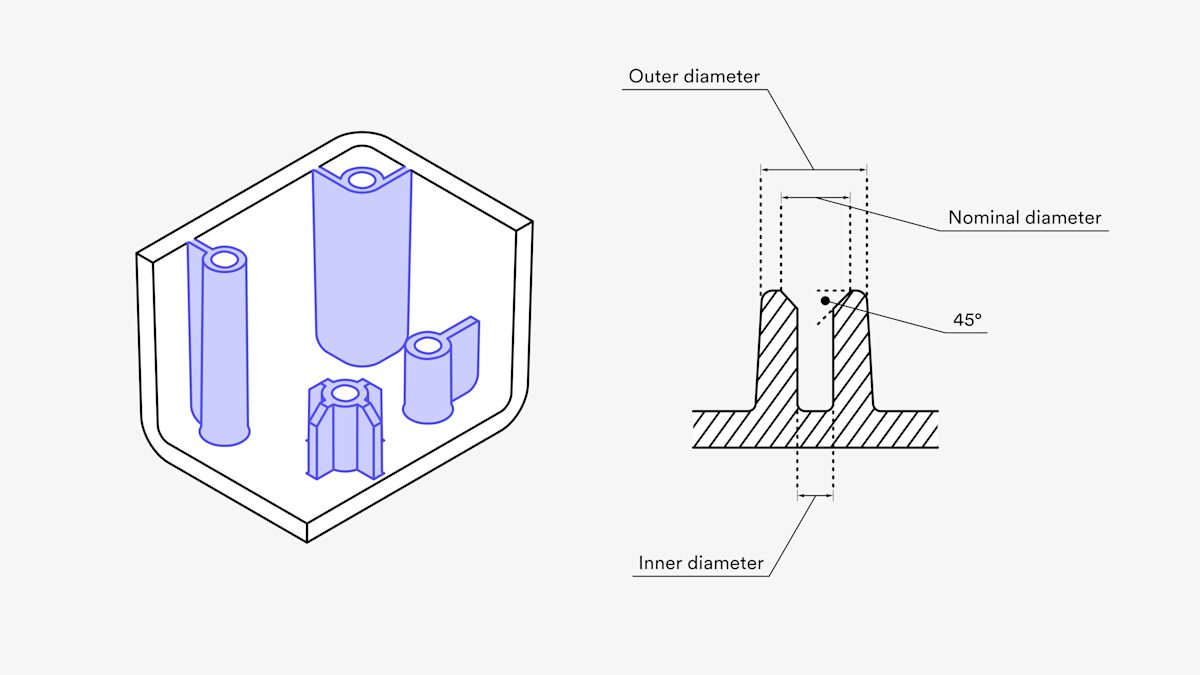
Bosses are cylindrical projections with holes designed for screws, threaded inserts and other types of fastening and assembly hardware. Properly implemented, bosses make your parts stronger.
When they’re used for fastening, the outer diameter of a boss should be twice the nominal diameter of the screw or insert. Its inner diameter should equal the diameter of the core of the screw.
Use the same wall thickness throughout or add smooth transitions
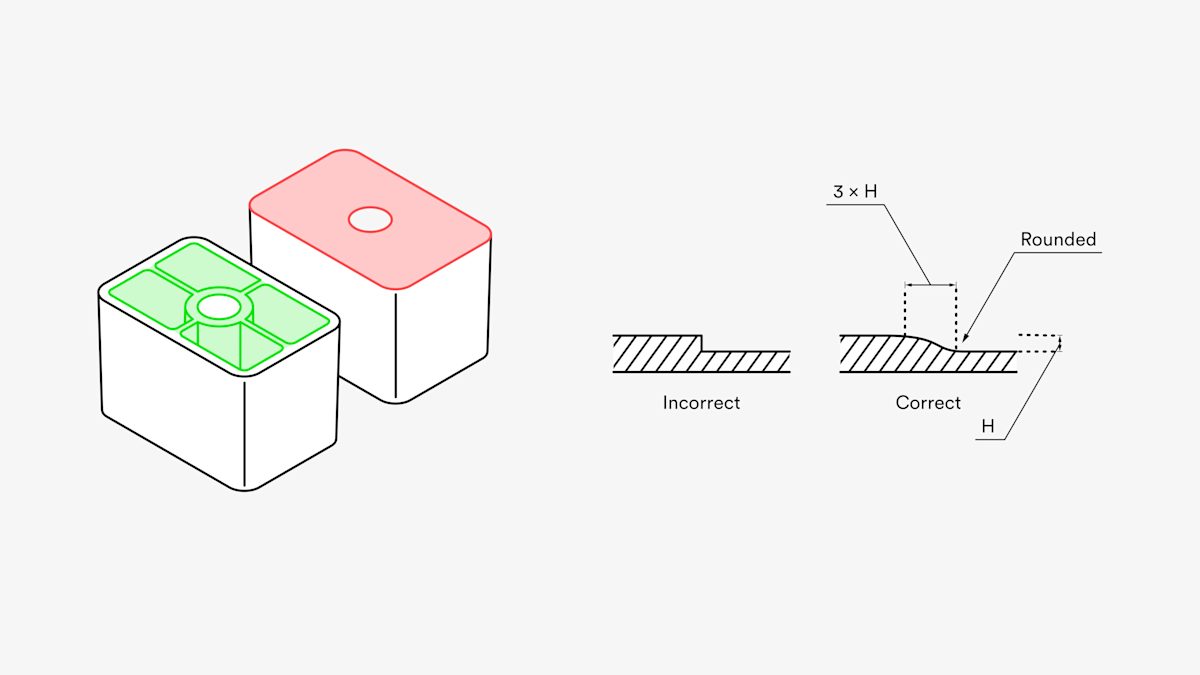
If you’re injection molding your parts, the walls of your components should be as uniform as possible. You should also avoid designing your parts with overly thick walls. Parts with non-uniform walls may melt as the material cools post-molding.
You do have options if your part must include walls of varying thicknesses. If you have non-uniform walls, make the transitions as smooth as possible using a chamfer or fillet that is three times as long as the difference in wall thickness. This way, the material will fill the cavity of the mold evenly, mitigating any future melting.
Hollowing out thick sections of parts and adding ribs to avoid warping and shrinkage
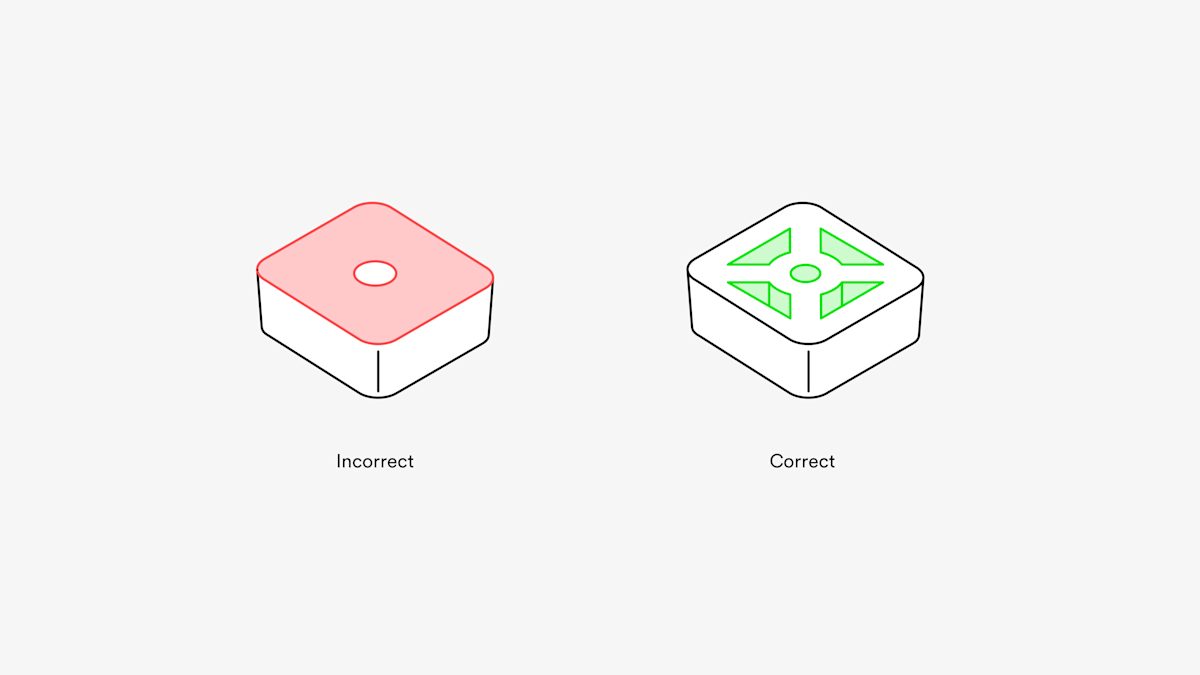
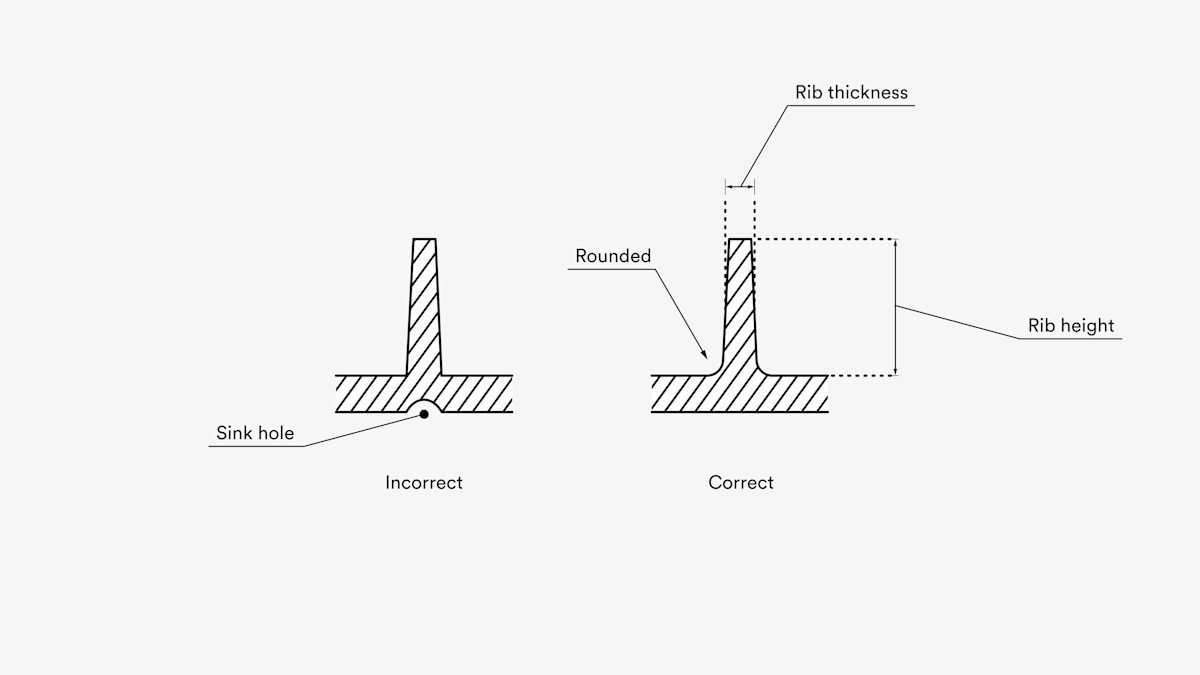
If your part has sections that are particularly thick, the likelihood of warping and shrinkage rises. It’s essential to limit the maximum thickness across your entire part design. You can also hollow out thicker sections of your part for a similar result.
To improve the strength of sections that become hollow in the design process, insert ribs into these sections to improve strength and stiffness while allowing the walls to remain the right thickness.
Rounded edges allow material to flow into the mold
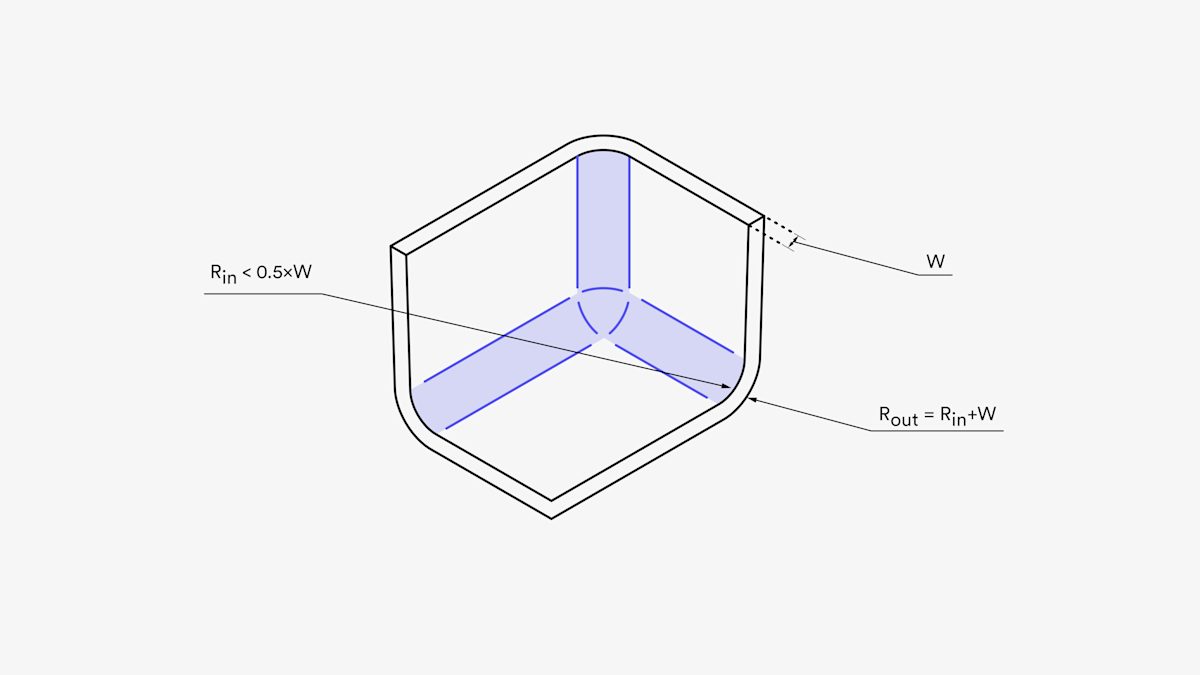
The uniform wall thickness trick also applies to your part’s edges and corners. The transitions must be as smooth as possible from one section of the part to another to ensure that the material can flow into the mold smoothly.
-
For interior edges, use a radius of at least half the wall thickness
-
For exterior edges, add a radius equal to the interior radius plus the wall thickness
This measure will ensure that the thickness of your part’s walls is consistent everywhere (that means not forgetting about the corners).
These design tips will help you avoid potential defects throughout the injection molding process. More often than not, they’ll also serve to reduce the cost and lead times of your parts, making the entire process more efficient and less risky (which is a boon, given the number of parts you’re preparing to produce).
To explore our injection molding services, fill in the online form or contact networksales@protolabs.com.
Ready to start your next injection molding production run?
Our online injection molding service Get an injection molding quote
