The Protolabs Network Standard
Inspection standards
Our manufacturing partners carry visual and dimensional inspections prior to order shipping. We use standard defect books and inspection criteria that help us to get a consistent level of control, wherever and whenever the order is produced. For an order with multiple units of the same line item, our partners and inspection teams use ISO2859 - General Level 2 sampling.
As an example, a batch of 20 units will be inspected on a sample of 5 units.
Defects are described with pictures, as well as level of defect (which are linked to AQL levels for inspection purposes).
We describe defects with 5 properties:
-
Category: Surface finishes, Tolerances & dimensions, Threads, Materials, Parts finishing & Cleaning, Packaging.
-
Name: description of the defect
-
Level: criticality of the defect
-
Bad photo: example of the defect
-
Good photo: example of an acceptable part
Categorisation of defects levels
When inspecting an order, the Protolabs Network defect book is used as a guideline.
You can take into account the Level of the defect for AQL levels.
AQL: Cr 0 M 2.5 m 4
A defect is considered as a discrepancy to Protolabs Network technical requirements and/or customer specifications.
-
Minor defects usually slightly affect parts appearance but usually do not affect parts usability.
-
Major defects are more serious defects that can affect parts usability.
-
Critical defects are defects that affect part usability, and that could lead to harmful or hazardous situations if the part is used as it is.
In case parts are non conforming to Customer specification and/or Protolabs Network technical requirements, the inspection results are passed along to the customer for a potential disposition. (The customer owns the part design and its intended usage)
Examples of defects
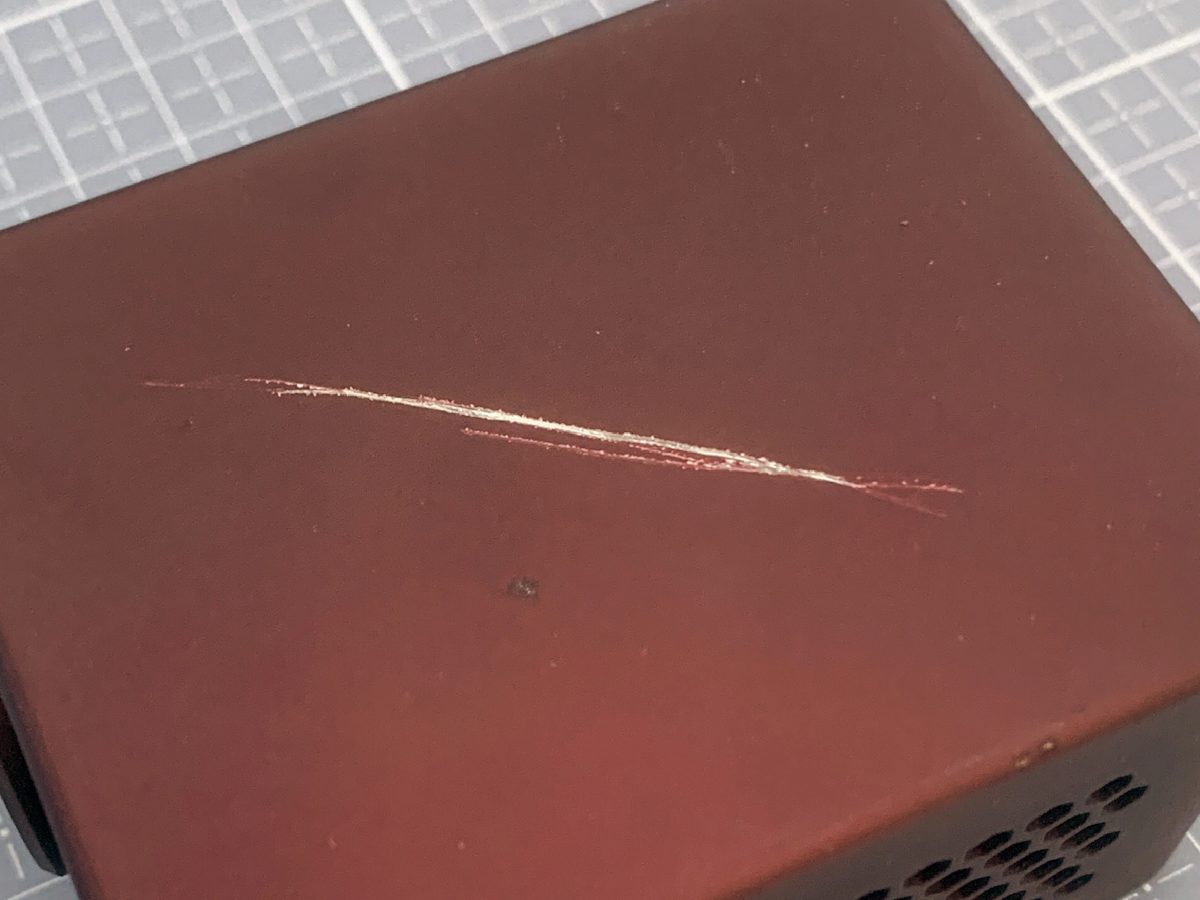
Surface scratch

Wrong material usage
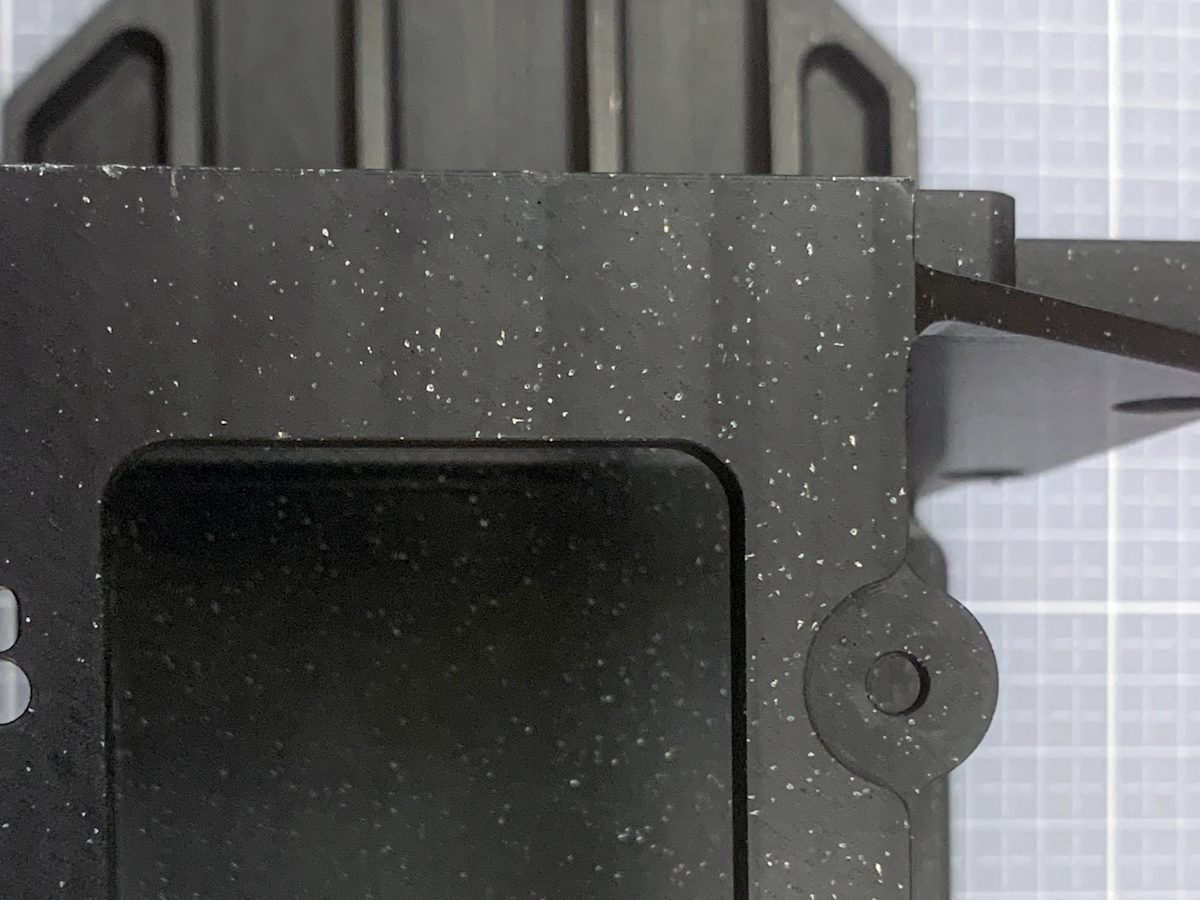
Too much magnesium caused spots after anodising


