The Protolabs Network Standard
Threads and Tolerances
Threads
Types and notation
We offer the following types of standard threads
-
UNC and UNF
-
Both defined by the Unified Thread Standard (UTS)
-
UTS standard: ASME/ANSI B1.1 – 2019
-
-
Metric
-
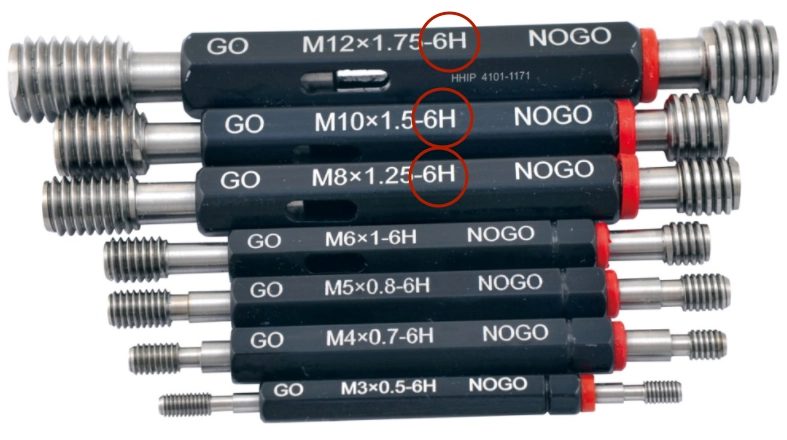
Defined as per ISO 261 and 262
-
Find out more about metric threads
-
Tolerances as per ISO 965 (see tables here)
-
Additional points to consider:
Threads need to be called out in the "edit part" modal of your draft quote. It takes precedence over information present in the technical drawing and cannot contradict it. If threads are needed, you will need to attach a technical drawing with more details.
-
We can source additional types of threads on request, including NPS, NPT, NPTS, STI and BSP. Note that lead times may vary as specific manufacturing partners fulfil these orders.
-
We do not accept ACME or Thorlabs threads.
Thread tolerances
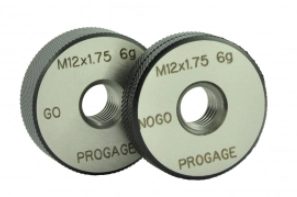
Unless specified on the drawing, metric threads tolerances should follow the ISO 965-1 standard. The standard thread tolerances are used for external and internal threads: 6H for internal threads and 6g for external threads.
The absence of tolerance class designation means that tolerance quality “medium” with the following tolerance classes will be used:
Internal threads
-
5H for threads up to and including M1,4
-
6H for threads M1,6 and larger


External threads
-
6h for threads up to and including M1,4
-
6g for threads M1,6 and larger


UN Threads Tolerances:
Unless specified on the drawing, UN threads tolerances should follow the ASME B1.1-2003 standard. The standard thread tolerances are used as for external and internal threads: 2A for external threads and 2B for internal threads.
Tolerances
Linear, angular dimensions and geometrical tolerances
We have two categories of tolerances: "GENERAL TOLERANCE" and "TIGHTER TOLERANCES".
-
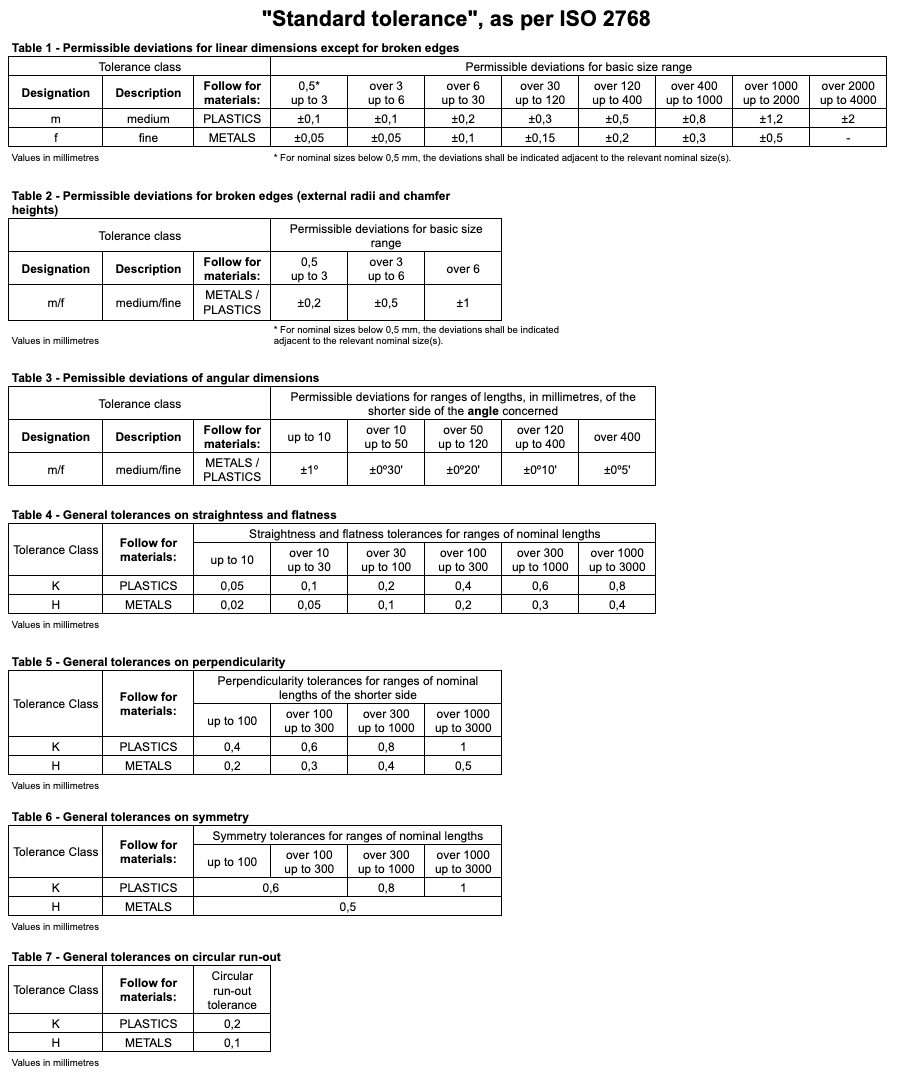
"General tolerance" is the tolerance across the part if nothing is indicated on a technical drawing.
-
For metals, the standard is
ISO-2768 fH (fine) (see table below)
-
For plastics, the standard is
ISO-2768 mK (medium) (see table below)
-
-
"Tighter tolerances": if tolerances tighter than ISO-2768 are needed, it can be requested when building a quote. It also needs to be specified in a technical drawing in order to indicate exactly which features are concerned.
You will be asked about tolerances when building your quote: tolerances are selected in the 'edit part' modal of your draft quote. It takes precedence over information present in the technical drawing and cannot contradict it.

Get your parts into production
Get an instant quote


