Polymethyl methacrylate (PMMA), also known as acrylic, is a transparent thermoplastic with good toughness. It is the ideal plastic for engineers who need the clarity of glass without the fragility. When you combine PMMA's excellent impact resistance with the precision of CNC machining, you get parts that look great and won’t shatter.
This guide walks through everything you need to know about acrylic CNC machining, from selecting the right type to optimizing your designs for cost-effective production.
What is acrylic CNC machining?
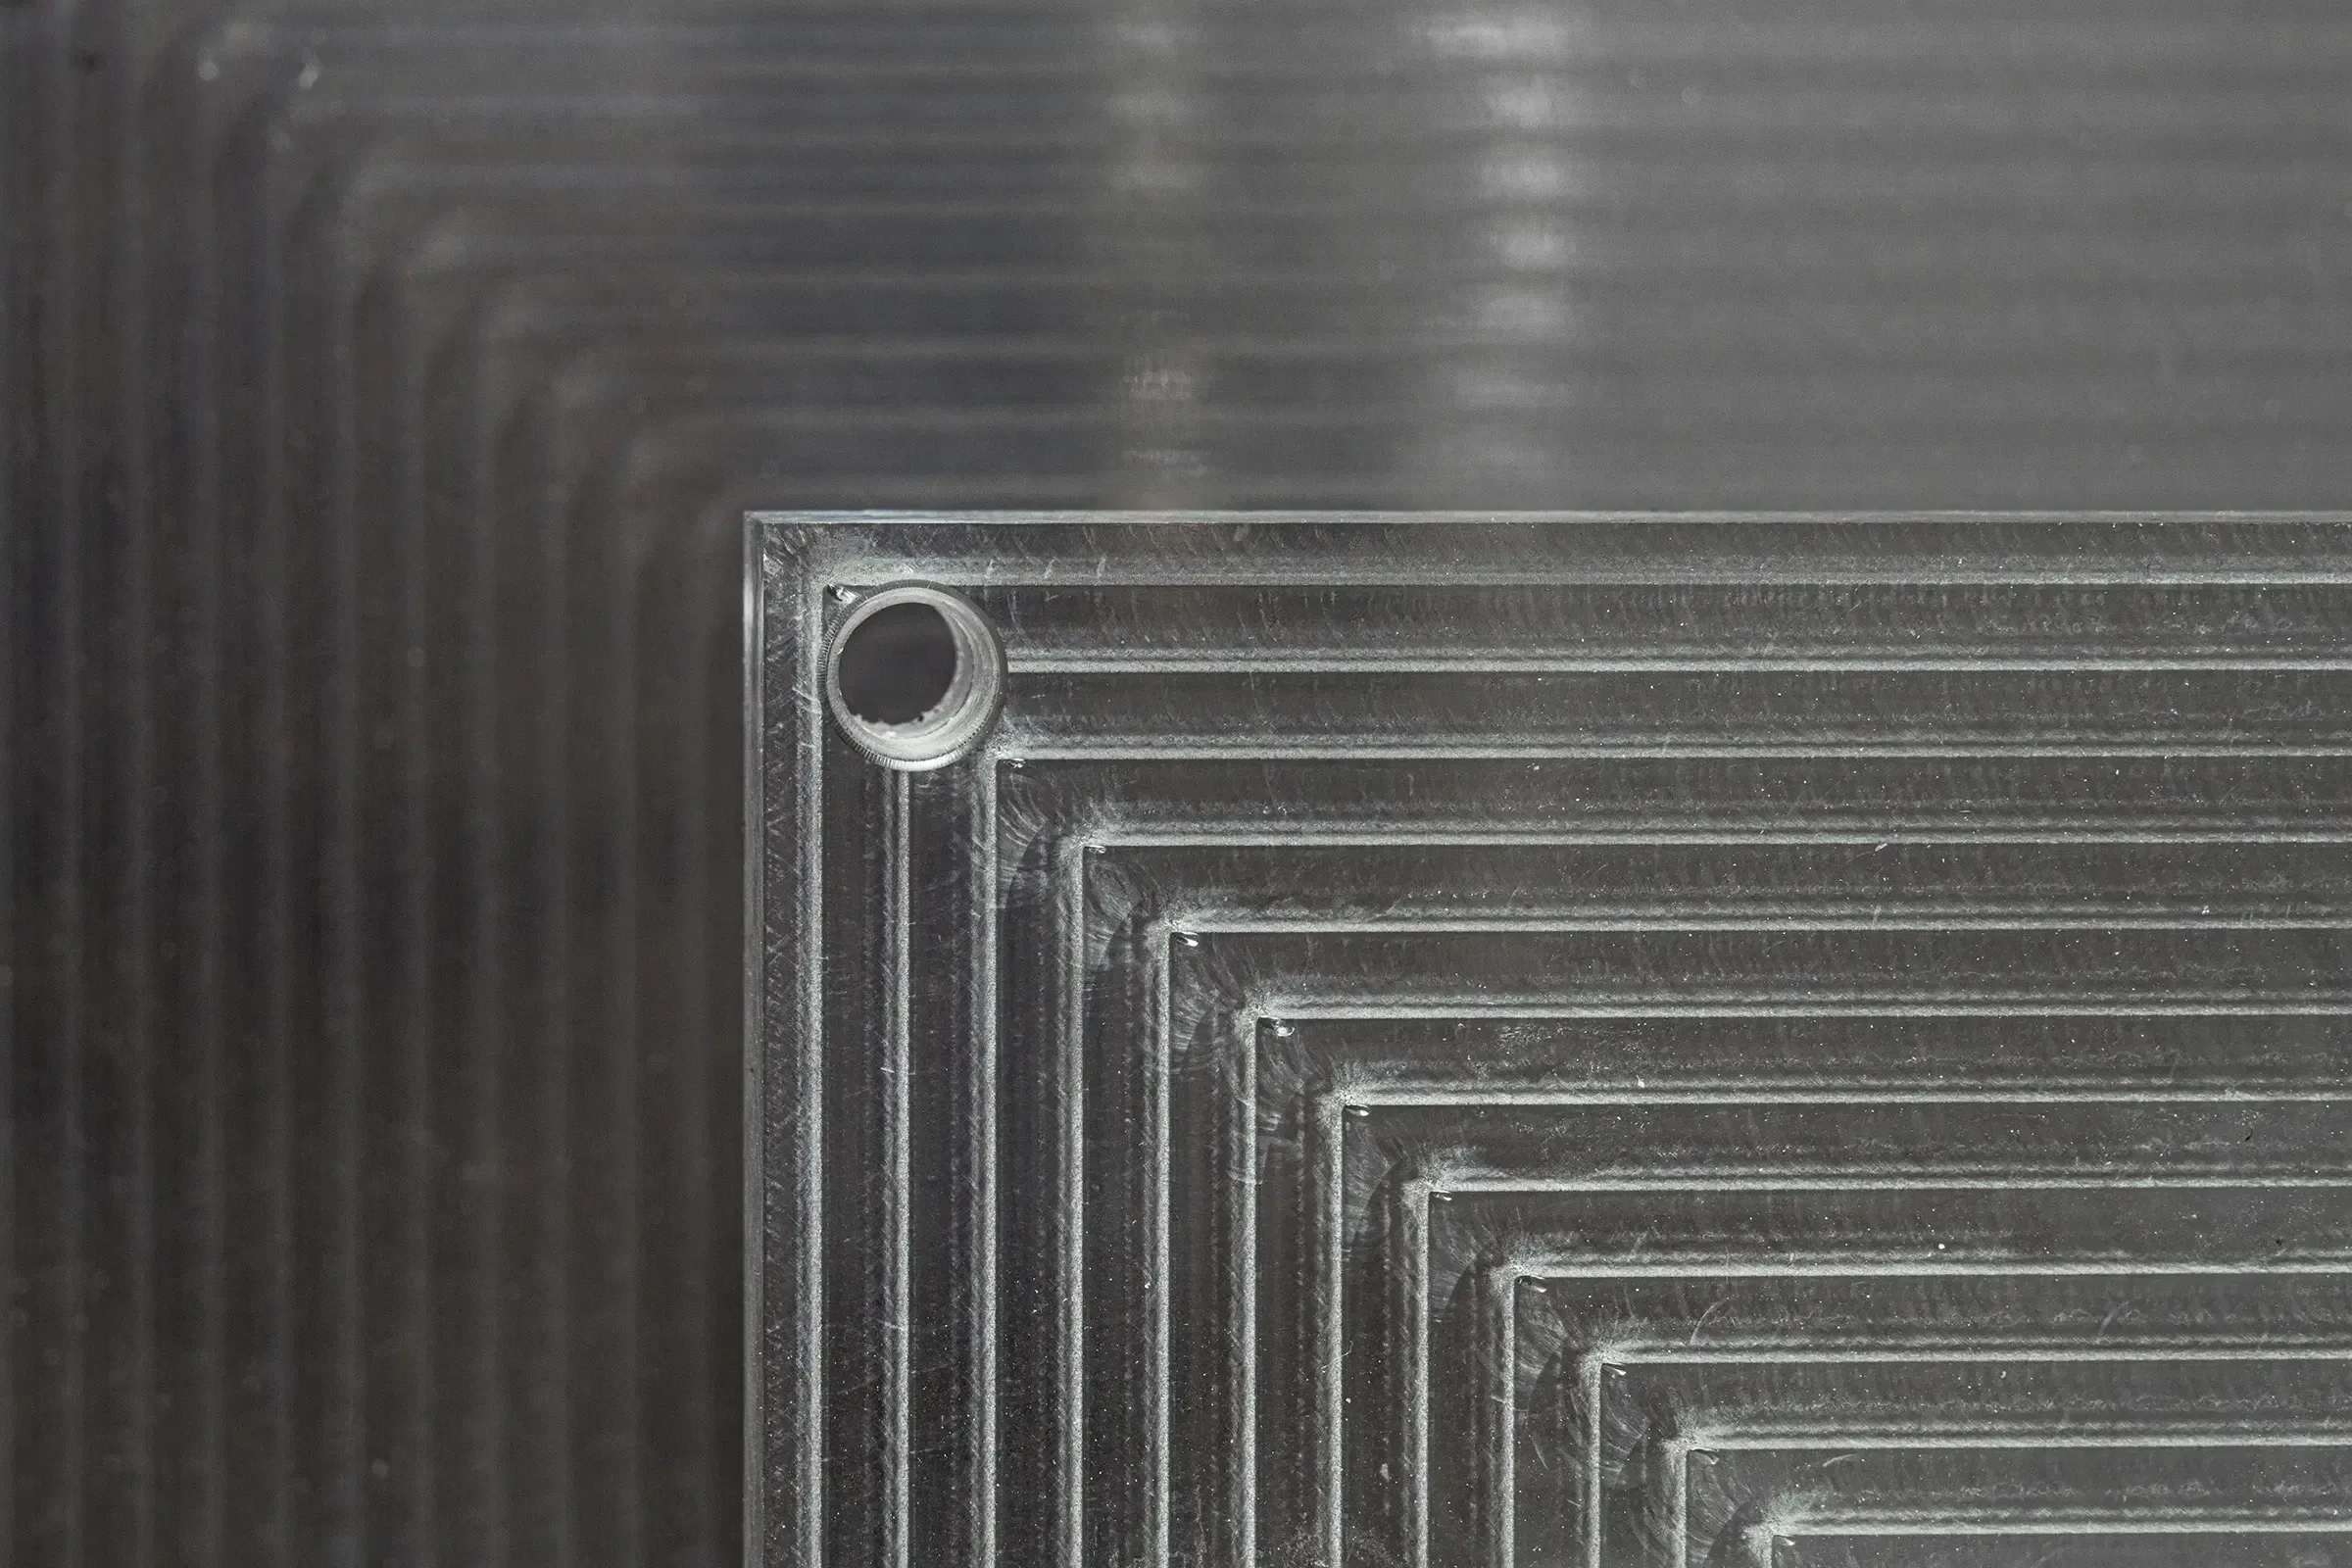
Acrylic CNC machining uses computer-controlled cutting tools to shape PMMA into precise parts. The process works particularly well with acrylic because the material machines cleanly without melting, unlike many other plastics that can gum up cutting tools or produce rough, melted edges.
PMMA offers several advantages over other transparent materials. It's 50% lighter than glass, significantly more impact-resistant, and can be machined to optical quality with the right techniques. It also maintains excellent clarity over time, so it doesn’t yellow or weather like other plastics. Whether you need rapid prototyping or production orders, acrylic delivers consistent results.
Types of acrylics
There are two main types of acrylics, cast and extruded, and each has different properties that affect both machining and performance. When selecting the right CNC material, understanding these differences can help you find the right one for your CNC plastic application.
Cast acrylic
This type is made by pouring liquid plastic into molds. Compared with extruded acrylic, it’s clearer, machines more easily, resists cracking better, and can be made with very tight tolerances. That’s why it’s usually chosen for optical parts or anything that needs high precision.
Extruded acrylic
Extruded acrylic is rolled out from heated material. It usually costs less than cast acrylic, but the clarity isn’t quite as good and it can crack more easily, so it needs a bit more care. Still, it’s a great fit for everyday uses like signage or protective enclosures.
Both handle sunlight well without yellowing, so they stay clear outdoors. They’re also tough enough to machine with standard tools—softer than aluminum and steel, but still durable enough for machining.
Material properties and comparisons
Here’s a quick snapshot of how acrylic compares to polycarbonate and glass across key engineering properties:
| Material | Density | Tensile strength | Impact resistance | Light transmission | Service temp |
|---|---|---|---|---|---|
| Cast Acrylic | ~1.18 g/cm³ | 65–75 MPa | ~0.3 J/m | ~92% | ~80–90 °C |
| Extruded Acrylic | ~1.19 g/cm³ | 65–75 MPa | ~0.3 J/m | ~90% | ~80–85 °C |
| Polycarbonate (PC) | ~1.20 g/cm³ | 65–70 MPa | 600–900 J/m | ~88–90% | ~115 °C |
| Glass | ~2.5 g/cm³ | ~45 MPa | Very low (brittle fracture) | ~92% | >200 °C |
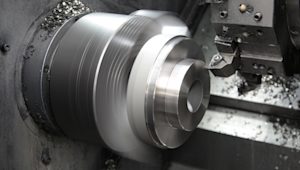
How acrylic is machined
Acrylic can be shaped in a few different ways using CNC machines. The method depends on the kind of part you need:
-
Milling: This is the go-to option for most acrylic parts. A standard three-axis mill works well for common shapes, while a five-axis setup makes it easier to cut smooth curves and tricky designs without having to stop and reset the part.
-
Turning: Best for round parts like rods, tubes, or lenses. Turning gives acrylic a smooth finish, often good enough that you don’t need extra polishing afterward.
No matter the method, the real secret is controlling heat. Sharp tools, the right speeds, and plenty of cooling keep the plastic from melting or cracking.
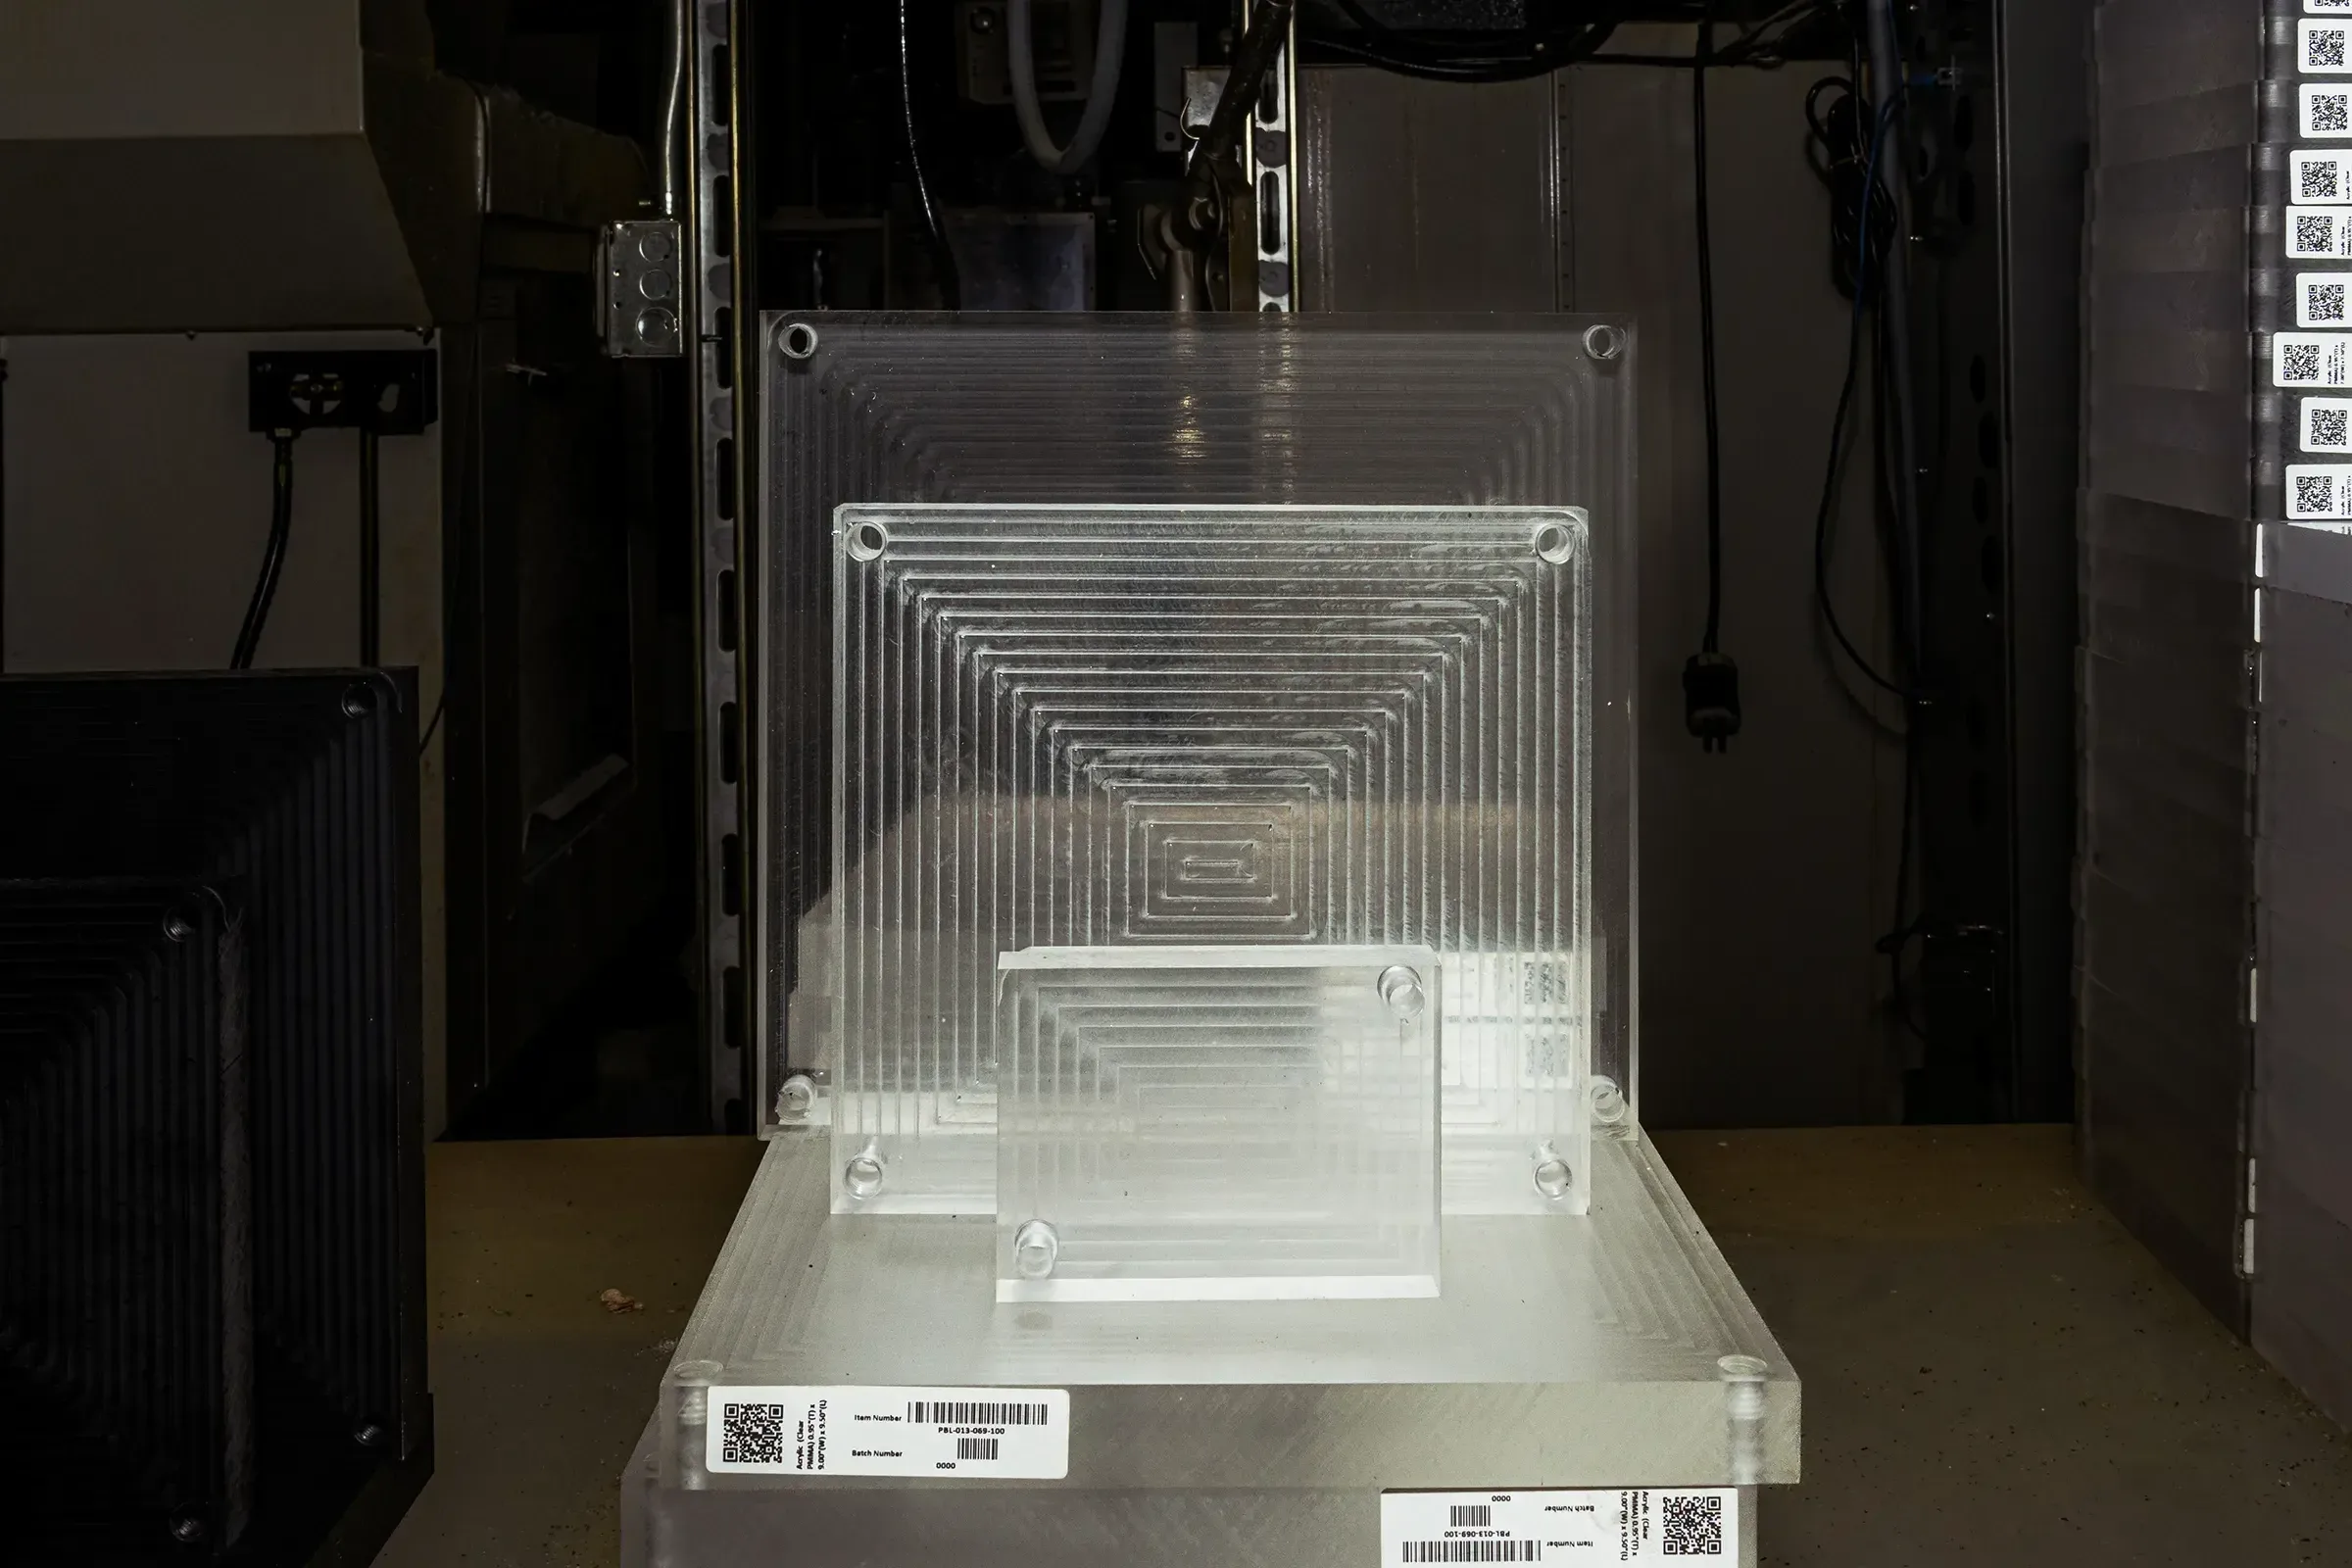
Surface finishes and post-processing
Once the acrylic part is machined, there are different ways to finish it depending on how it’ll be used:
As-machined: Leaves a slightly textured surface, fine for non-optical parts.
Polishing: Used when you need crystal-clear, optical-quality surfaces. Step-by-step polishing can give acrylic a mirror-like shine.
Bead blasting: Creates a uniform matte finish that diffuses light, nice for decorative applications or reducing glare.
Vapor smoothing: A chemical process that lightly melts the surface of the acrylic, leaving it smooth and consistent, even on complex shapes.
Annealing: A heat treatment that eases built-up stresses in the material, making it less likely to crack later.
Solvent cementing: A method for joining acrylic pieces together. Special adhesives chemically bond the surfaces, creating strong, almost invisible joints.
Design guidelines for acrylic CNC
Smart design choices for CNC machining can improve both part quality and cost-effectiveness:
-
Wall thickness: Keep walls at least 1.5 mm thick for strength. Sections in the 3–6 mm range are easier to machine and less likely to crack.
-
Fillets and radii: Add at least a 0.5 mm radius to inside corners to reduce stress. Larger radii (1–2 mm) are even better when the design allows.
-
Tolerances: Standard tolerances of ±0.1 mm are usually fine. Tighter tolerances (±0.05 mm) are possible but tend to drive up cost.
-
Threads: Don’t cut threads directly into acrylic if you can avoid it. Use threaded inserts or plan for clearance holes with standard fasteners.
-
Engraving: Shallow surface engraving adds little cost. Deeper engraving (more than 0.5 mm), however, can create weak points.
The biggest design rule: avoid stress concentrations. Sharp corners, sudden thickness changes, and deep grooves can all make acrylic prone to cracking, especially with cast acrylic.
Applications across industries
Acrylic’s mix of clarity and precision makes it useful in a wide range of fields:
-
Optical components: Lenses, prisms, and light guides for medical devices and scientific instruments.
-
Aerospace: Instrument panels, cockpit displays, and lighting components where clarity and low weight are high priorities.
-
Automotive: Interior trim, dashboards, and lighting housings that benefit from acrylic’s toughness and flexibility.
-
Electronics: Display windows, LED housings, and protective covers that let light through while still shielding the components.
-
Industrial machinery: Fluid manifolds, sight glasses, and machine guards that let operators safely see what’s happening inside.
What affects acrylic machining costs
A few key factors play into the final price of CNC acrylic parts, and understanding these can help you reduce CNC machining costs through smart design decisions:
-
Quantity: Like with most CNC machining, setup costs are spread across the run. Larger batches lower the per-part cost.
-
Material grade: Cast acrylic costs about 20–30% more than extruded, but it can save money in the long run since it machines better and achieves tighter tolerances with less finishing.
-
Complexity: Simple geometries machine quickly, while complex five-axis parts require more time and specialized tooling.
-
Surface finish: Polishing can add 50-200% to part cost depending on the level of finish required.
-
Fixturing: Parts that need custom fixtures for holding will add to both setup time and overall cost.
Get started with acrylic CNC machining
Ready to bring your next project into focus? Get an instant quote for your CNC machined acrylic parts.
Frequently asked questions
Can acrylic be machined as precisely as metals?
Yes. With the right tools, acrylic can reach tolerances similar to aluminum (±0.05mm).
How does acrylic compare to polycarbonate for machining?
Acrylic is clearer and easier to polish, while polycarbonate is tougher and more impact resistant.
What's the thickest acrylic that can be CNC machined?
Most CNC machines can cut acrylic up to about 150mm thick, though thicker parts need extra care to avoid heat issues.
Does acrylic require special cutting tools?
Standard carbide tools work fine, but sharper acrylic-specific cutters can give smoother finishes and reduce stress.