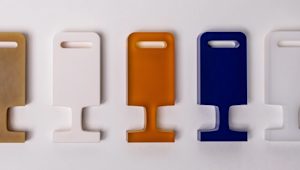
Living hinges are a simple, low-cost method of connecting two rigid plastic parts with a flexible joint. This article discusses the advantages of living hinges and present-day design rules and material recommendations when using 3D printing to produce living hinges.
What is a living hinge?
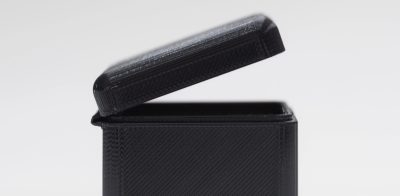
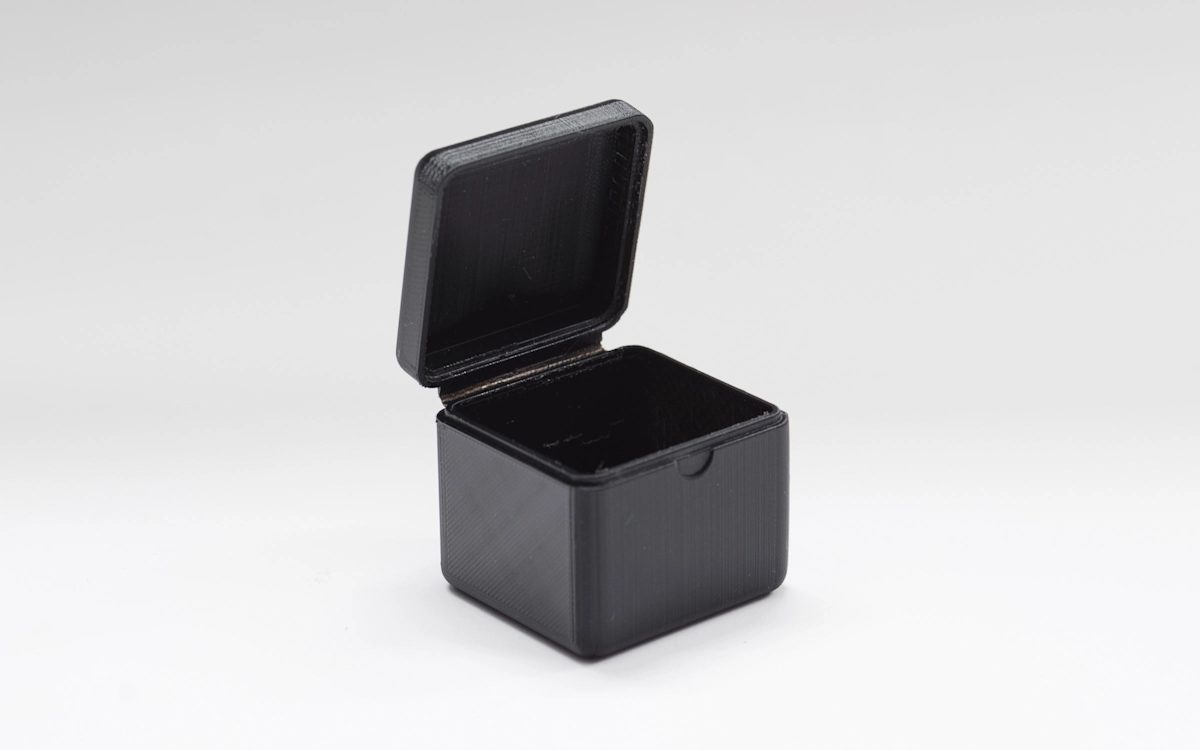
A living hinge is a thin, flexible web of plastic that connects two or more rigid sections. Typically, the larger rigid section and the living hinge are made from a single continuous strand of plastic. The low cost and simplicity of living hinges make them a popular choice for many applications. Living hinges can be found on everything from drink and shampoo bottles to workshop storage containers and food packaging. Living hinges and their associated rigid sections are manufactured almost exclusively with injection molding.
What are the advantages and disadvantages of living hinges?
-
Low-cost: Because of their simplicity, living hinges are usually cheaper than other hinge types.
-
Durability: Living hinges are specifically designed for repeated use. They experience very little friction when opened and closed, typically leading to a long lifespan.
-
Reduced inventory: Living hinges are designed to be integrated into parts, eliminating the need for extra components.
-
Appearance: Compared to other connection options (assembled hinges, snap-fit connectors, etc.), living hinges are an aesthetically pleasing, non-obtrusive solution.
The main disadvantage of living hinges is their load-bearing limitation.
Can you use 3D printing to make living hinges?
While injection molded living hinges are designed to withstand thousands of cycles without breaking, the nature of 3D printing—anisotropic, brittle layer-by-layer construction—means that 3D-printed living hinges are usually used for prototyping or proof-of-concept models that only require a few cycles. This makes 3D-printed living hinges best suited for the verification of a design before investing in expensive injection molded tooling.
What are the advantages of 3D printing a living hinge?
-
There is no need for expensive tooling.
-
The design does not need to incorporate features essential to injection molded parts, such as gates, runners or sprues.
-
Designs can be easily altered and iterated to achieve optimal design.
-
3D-printed parts can be produced quickly, accelerating the design process.

How do you design a living hinge for 3D printing?
As with other 3D-printed features, performance varies according to design, material, printer calibrations and layer thickness. That often makes finding the optimal living hinge for a specific design and technology an iterative process. This section offers several design recommendations as a starting point.
Print direction
Due to the additive, layer-by-layer nature of 3D printing, the produced parts are typically anisotropic. To improve the likelihood of a living hinge’s successful performance, parts should be oriented so that the hinge width rather than length is built up one layer at a time. This often requires producing the part in the vertical build direction (as shown in the image below).
Hinge geometry
For most prototyping applications, simply printing a thin strip of material is adequate if the hinge only needs to function for several cycles. If a greater number of cycles is required, the hinge geometry can be optimized.
A closing hinge is subjected to bending: the outer surface is placed under tension and stretches, while the inner surface compresses. To accommodate this, a good living hinge should be designed to have a long, curved outer surface and a short inner surface. The image below illustrates a standard injection molded living hinge with dimensions in millimeters.

For 3D printing, use more material and a stiffer hinge to improve the number of cycles before failure. Though keep in mind that hinge thickness increases the force of tensile stress on the outer surface. The figure below shows the dimensions of an FDM-printed living hinge that achieved 25 cycles before failure.

Design rules for FDM & SLS
Each type of 3D printing technology has its own set of best practices when it comes to materials and processes used to optimize the production of a part to meet the engineer’s requirements. This is why design rules often differ for each technology.
Living hinges in FDM printing
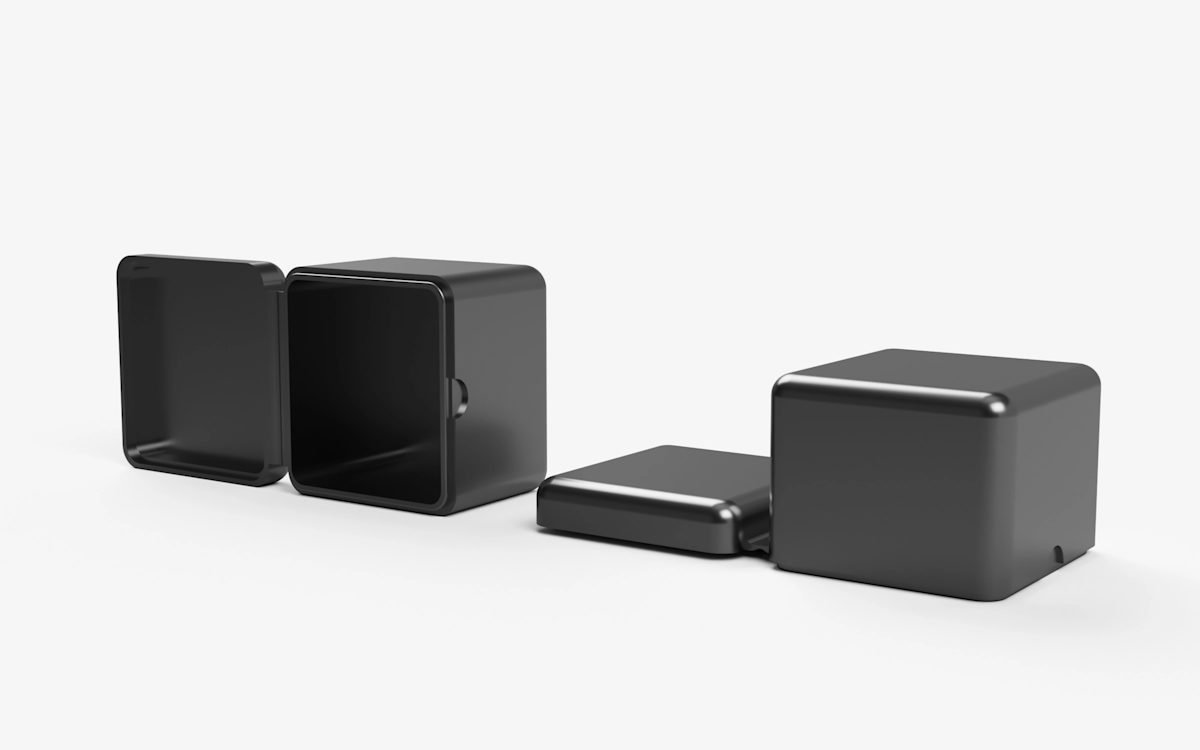
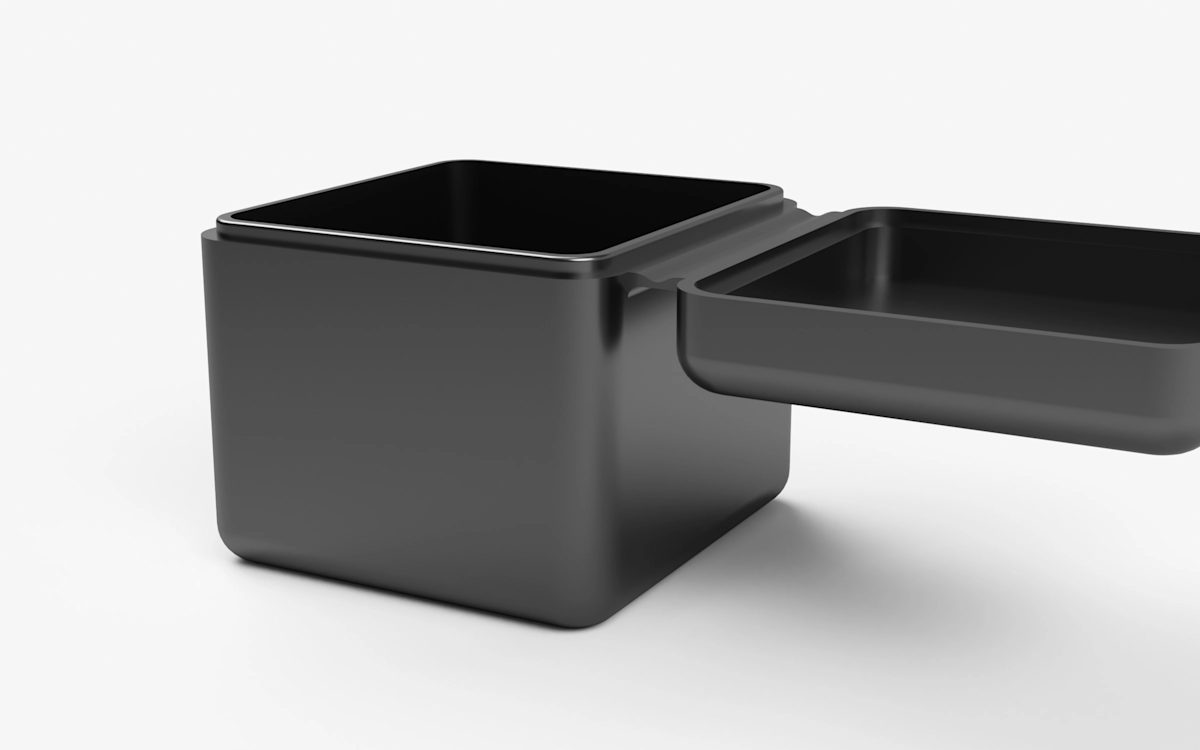
When you are designing a living hinge for FDM, you want to be able to print the hinge with a single strand of thermoplastic integrated into the rigid sections of the build (as shown in the image below).
Depending on the design, a specific orientation might have to be selected to ensure the continuous strand of filament which might result in the need for more support material. If support material is required, it will increase the build’s costs and time.
Some dual extrusion FDM printers offer the option to print the hinge section in a secondary flexible material (such as TPU). This further improves hinge performance and the number of cycles before failure. Build orientation remains an important consideration for these materials.
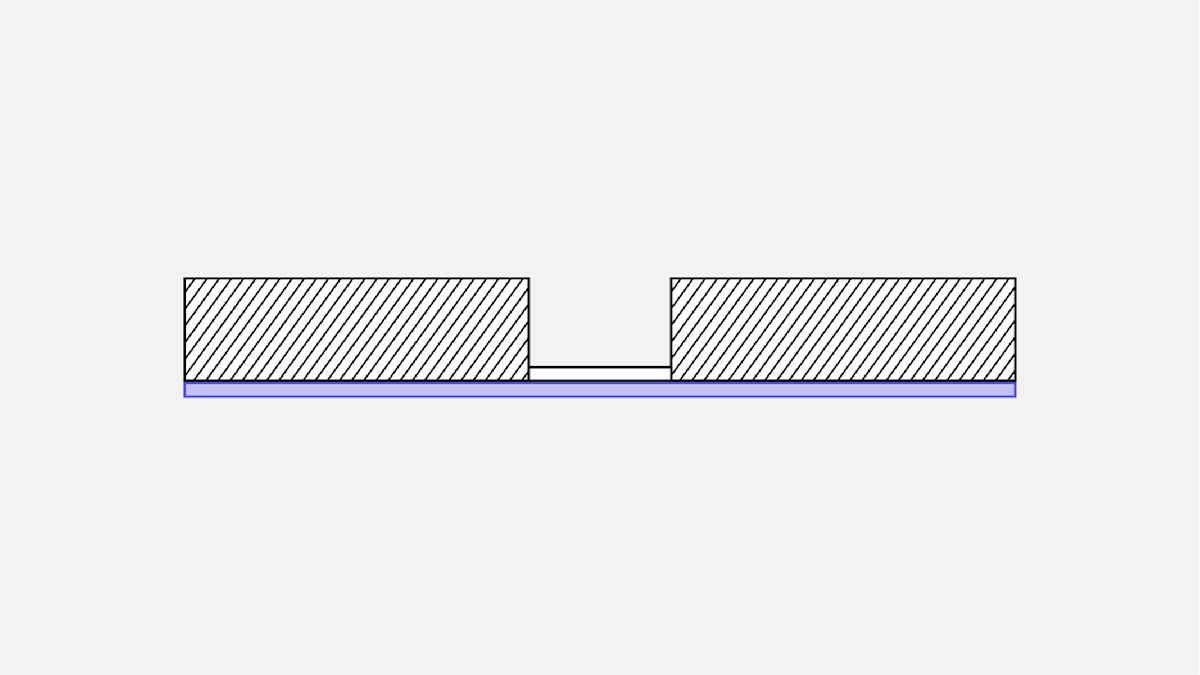
Recommended hinge specifications: 0.4-0.6mm thick with a minimum of two layers
Living hinges for SLS printing
While SLS parts are less susceptible than FDM to delamination, build direction will still impact the life cycle of SLS-printed living hinges. Hinges produced with SLS typically last around 30-50 cycles before failure.
Recommended hinge specifications: 0.3-0.8mm thick and a minimum of 5mm long
What are the options for post-processing living hinges?
After printing, living hinges can be annealed to increase the number of cycles before failure. This can be achieved by heating—a common method is submerging the hinge in boiling water—and then working it back and forth at the elevated temperature before leaving in the closed position to cool. The effect of this procedure greatly depends on the material used and the geometry of the hinge.
Which materials are used for manufacturing living hinges?
Injection molded living hinges are made almost exclusively from polyethylene and polypropylene plastic. Both materials are flexible and soft, with a relatively low melting point.
For 3D printing, materials that have a high elongation before breaking and good tear resistance are optimal. The recommended materials for each process described above are summarized in the table below.
| Technology | Recommended material |
|---|---|
| FDM | Nylon 12 |
| FDM (multi-material) | Rigid section: any rigid thermoplastic Living hinge: TPU, SemiFlex, NinjaFlex |
| SLS | PA12 or PA11 |
| Material jetting | Simulated polypropylene |
| Material jetting (multi-material) | Rigid section: any rigid photopolymer Living hinge: TangoBlack, VisiJet elastomers |
Living hinge best practices
-
3D printed living hinges are best suited for proof-of-concept designs before investing in expensive injection molded tooling.
-
Living hinge geometry should have a long outer surface path and a short internal path.
-
Hinge dimensions and materials that best suit 3D-printing technologies for producing living hinges are summarized in the table below.
| Technology | Dimensions | Material |
|---|---|---|
| FDM | 0.4-0.6mm | Nylon 12 |
| SLS | 0.3-0.8mm thick and a minimum 5mm long | PA12 or PA11 |
| Material jetting | 0.4-0.8mm thick | Simulated polypropylene |
